Update Wallpaper
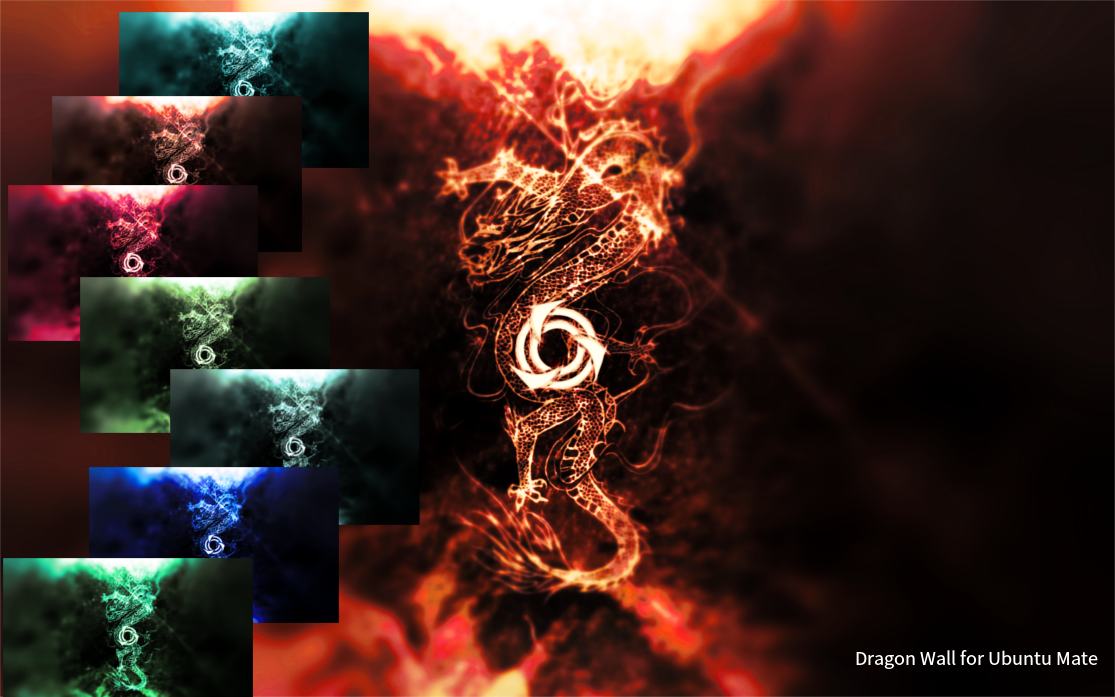
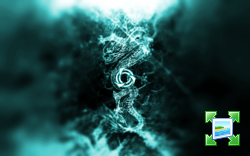
Preview:
Links:

Modify as you wish (XCF):
https://mega.nz/#!7QNy0L7A!NuECj-qW3kRJIDFVRDJBkGGlJ08KZZY7j4x68lbHlkk
Previous versions
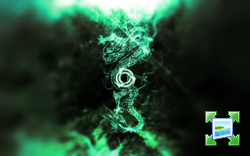
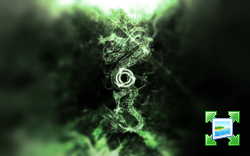
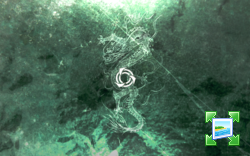
green

Update Wallpaper
Preview:
Links:
Modify as you wish (XCF):
https://mega.nz/#!7QNy0L7A!NuECj-qW3kRJIDFVRDJBkGGlJ08KZZY7j4x68lbHlkk
Previous versions
green
I like it. Nice selection, too; One could hue-shift any of the images available to a colour of their liking.
Though, an XCF with the logo separate from the background can allow for more control over the final result, should one want that and would rather mix down from greyscale to a colour of their choosing.
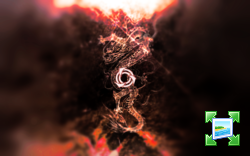
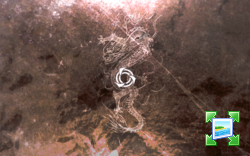
Below is a try at making a deep purple version, though there is noticeable degradation of the logo in the middle:
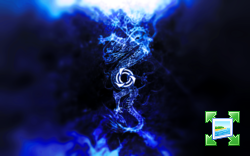
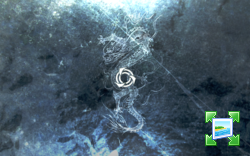
really Nice blue 
XFC uploaded
https://mega.nz/#!DYtHgR4Q!yhHrQUmnDrV33uubR4EvDS4zOyKtEGFejlsYuOXvdJE
I can finally exercise some of the open-source nature of open-source art, since I’ve made a slight enhancement to the image for people to not bother with fixing it themselves (click image to download XCF);

###Credits and things to note:
###Layers:
Warped logo (color)Warped logo (greyscale)texture_140_by_sirius_sdz###Use suggestions
###Attribution
CIMP’s colourify tool confuses me. I don’t understand how the luminosity slider really works, and I don’t think WorkWithColor.com’s tool does any good now I’ve played around with it some. Oh well, is what it is.
Thanks tiox for the complete description and details, and also I should add
About the luminosity slider what I observe is the program just simulates a Black and a white “hidden” layers above the current working layer (depending if you are decreasing or increasing luminosity the opacity from 0 to 100%, starting from 0% opacity). The less luminosity you choose (starting from 0 implies 0% black and white “hidden” layers ), the more opacity for the black “hidden” layer, the more luminosity you choose, the more opacity for the white “hidden” layer.
Thanks for that information. I got colourify and colourize mixed up; They both do similar things differently.
About the luminosity, I got it confused with lightness, which is what the L in the HSL for colourize stands for. Lightness confuses me because it goes into negative values, essentially making it a slider that goes from 0 to 200, similarly to Channel Mixer.
Either way it all worked out and I am too lazy to fix the final result, but thanks for mentioning the brushes. Even though I mention in attribution, I say “No attribution required” because… well, none is required if the author states so. But I like to be awfully specific when it comes to this stuff and give credit even when it isn’t due because man do they deserve it.
Not to guilt-trip, post away and keep your stuff hidden if it’s your own secret sauce but it’s still awesome to know these things so somebody might come along this thread and make it better to their own preference. Thanks again for the art, XCF and information.
I decided to give the purple image another try;
hello tiox
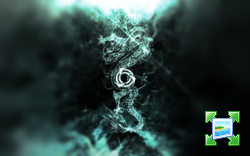
I did my last try to improve this idea adding some corrections about the brightness and a adding a Blur effect (depth-of-field, G’MIC plugin for GIMP) to make the image more comfortable to see on a desktop. I made a wallpaper pack preview that I will upload soon
Sweet. Thanks for embracing this open-source art idea I’ve been trying to push. You really didn’t have to, after all; it’s your work, but I like to spread the idea and have artists give images others can modify to fit their theme.
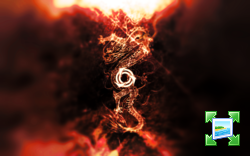
Replying for the updated wallpapers, I love the bold colours. If somebody wants to make the image washed out for a lighter theme, just desaturate to taste.
The contrast on them is magnificent, too. It looks like a fireworks show that is as subtle as it is over-the-top.
How can I give you more hearties?? Oh wait 
Those last ones are SO ON POINT 
 that I could marry one of those dragons!!


PS: is it still bestiality if the animal is mythological ? LOL

