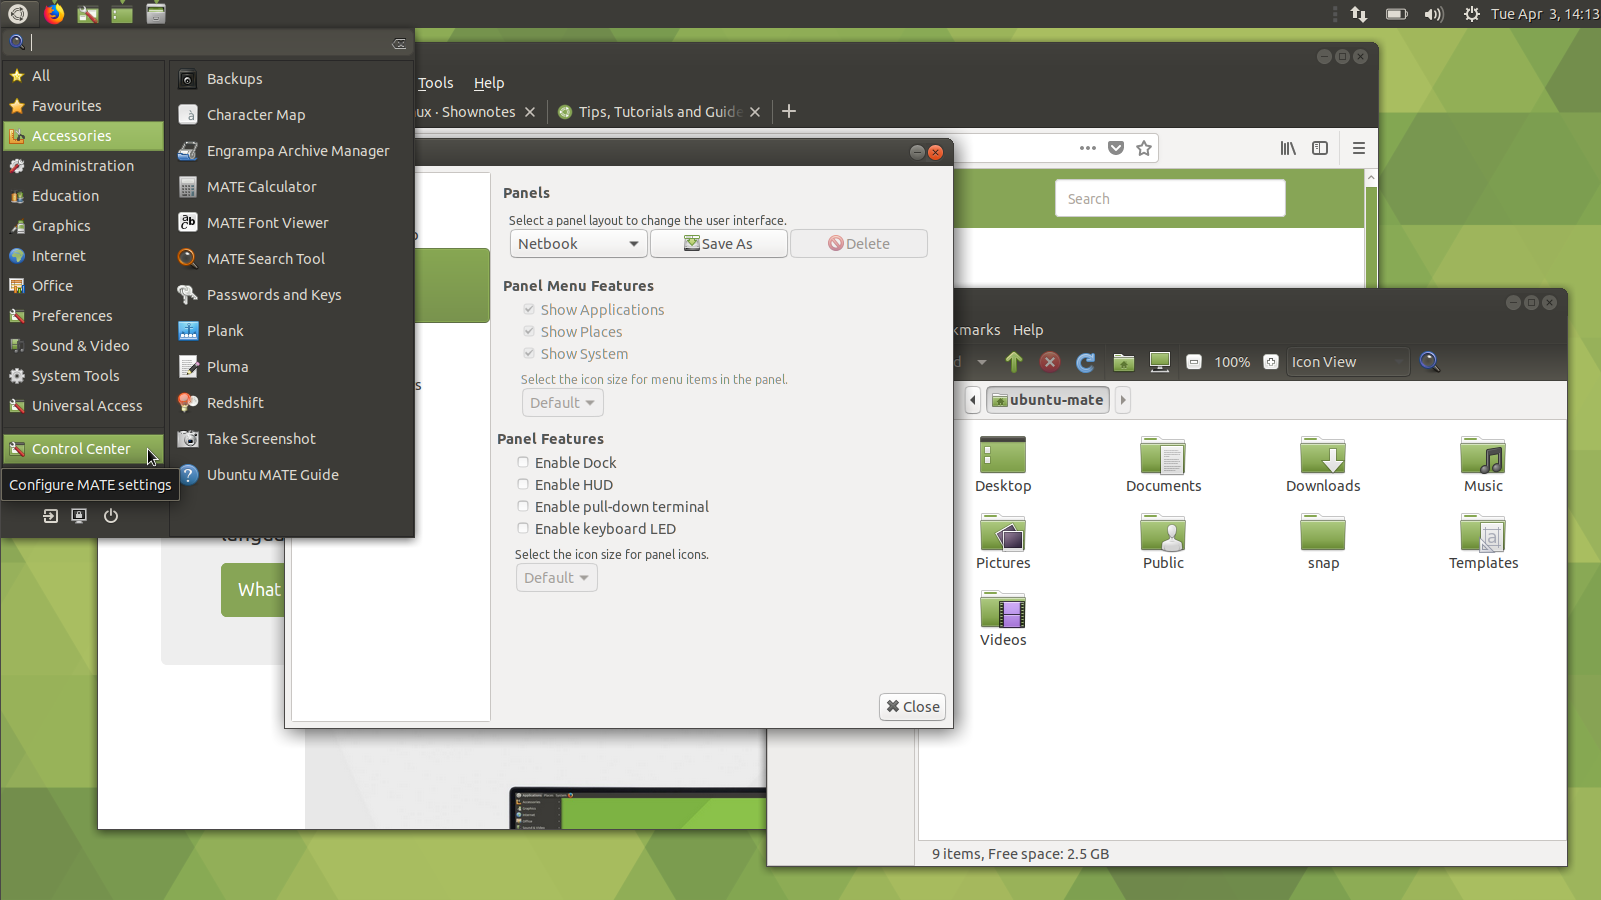
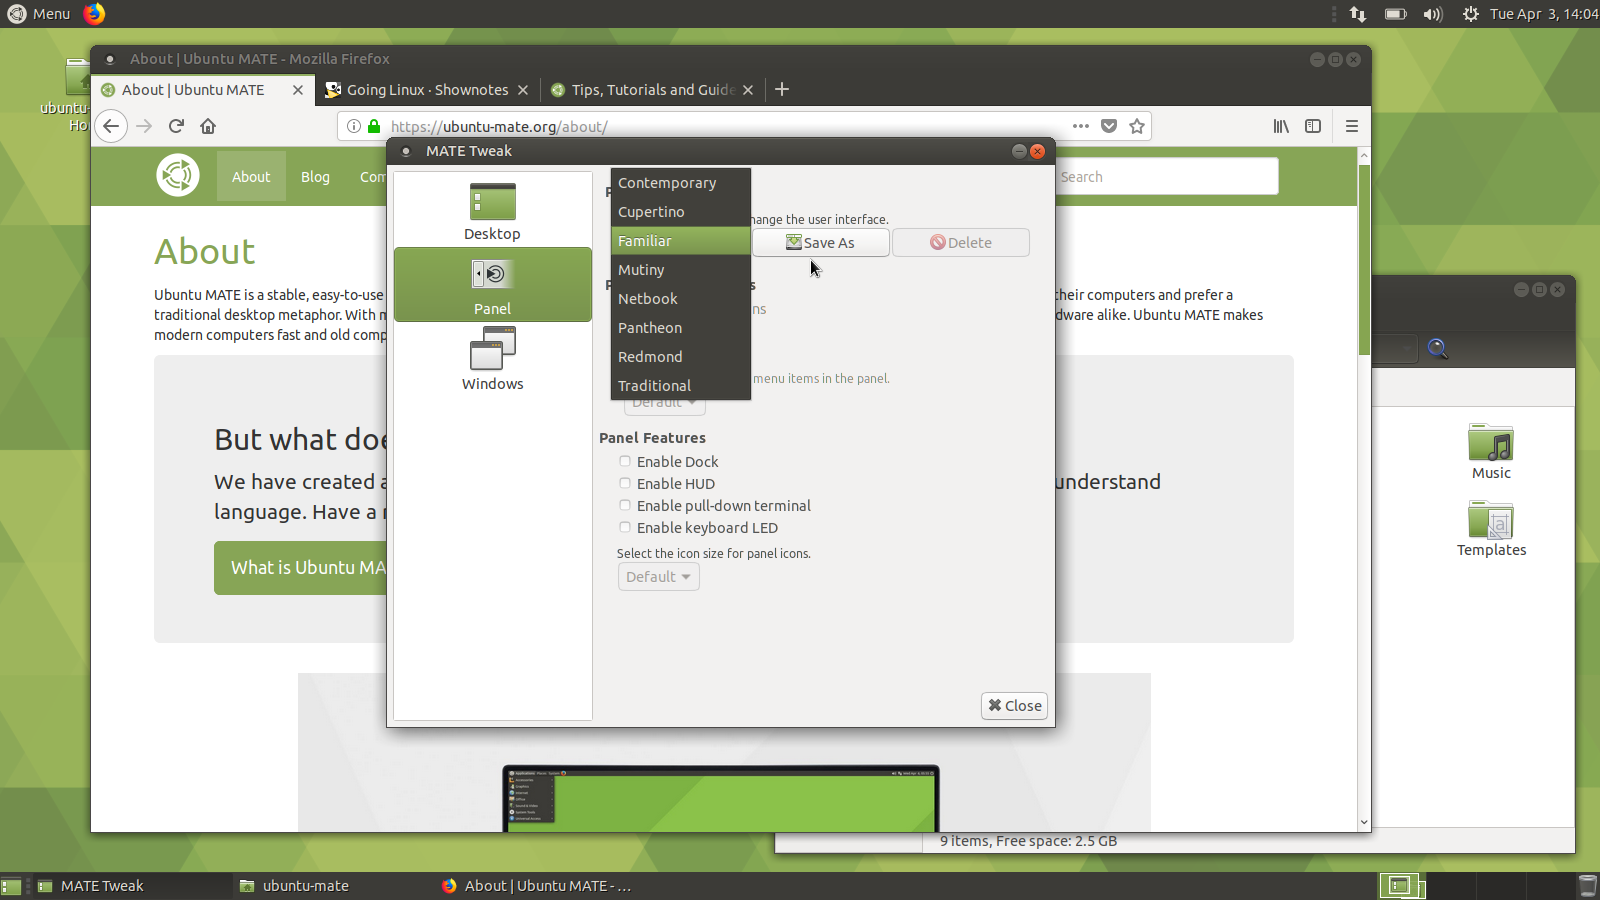
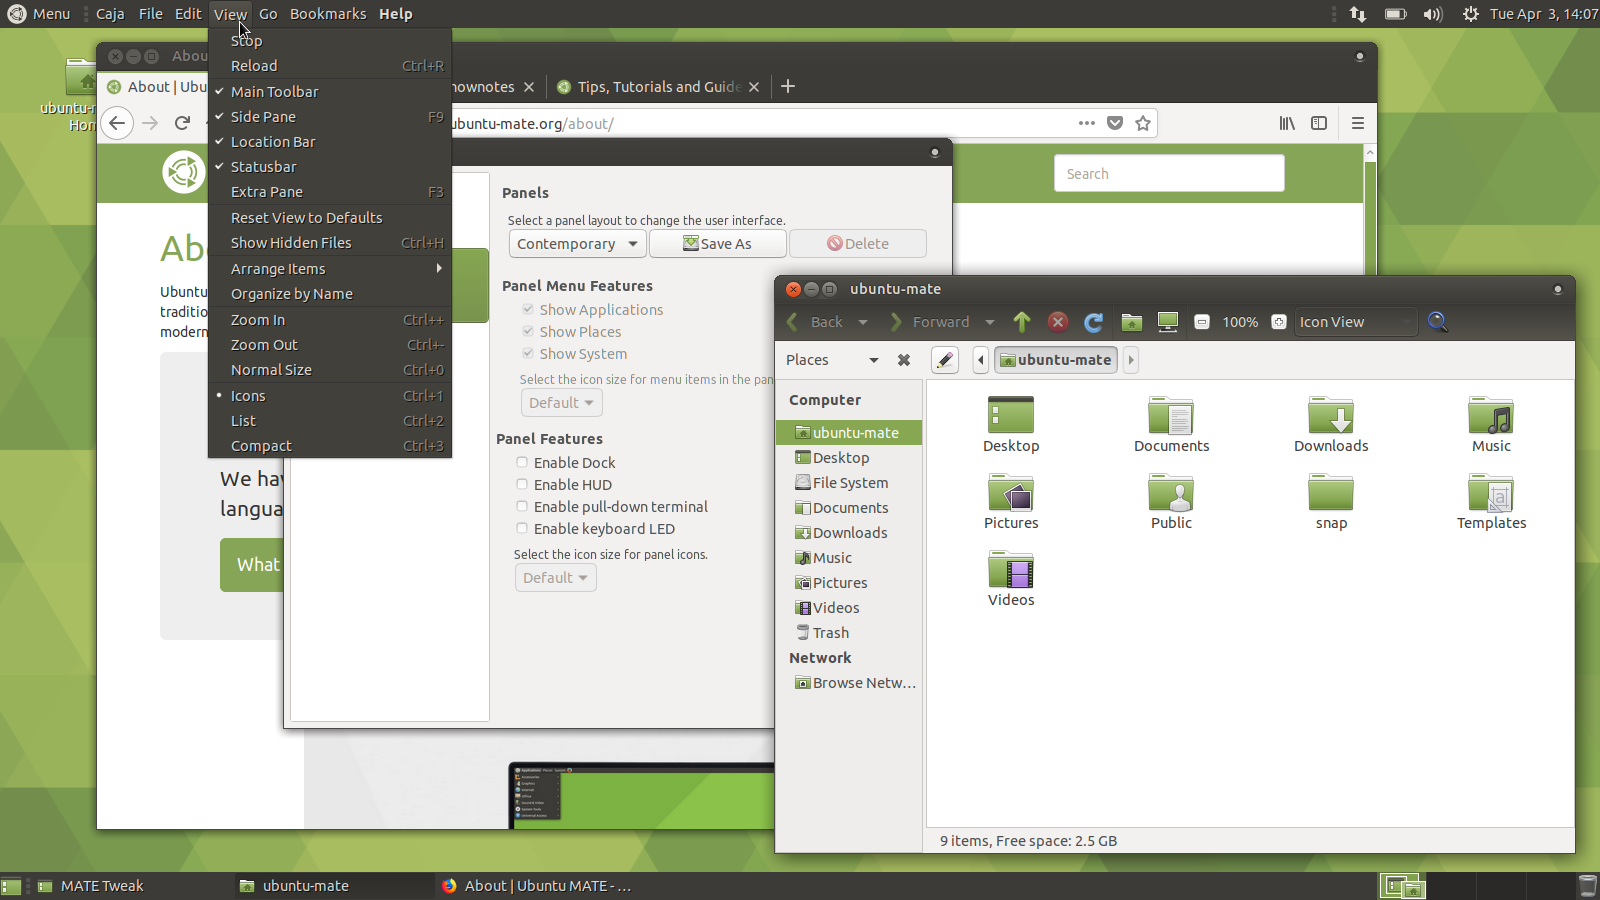
One of the quickest ways to change the look and feel of Ubuntu MATE is to select a different panel layout using MATE Tweak which is found in the Ubuntu MATE menus at Menu ▸ Control Center ▸ MATE Tweak. Each panel layout is distinctive and provides a different desktop workflow.
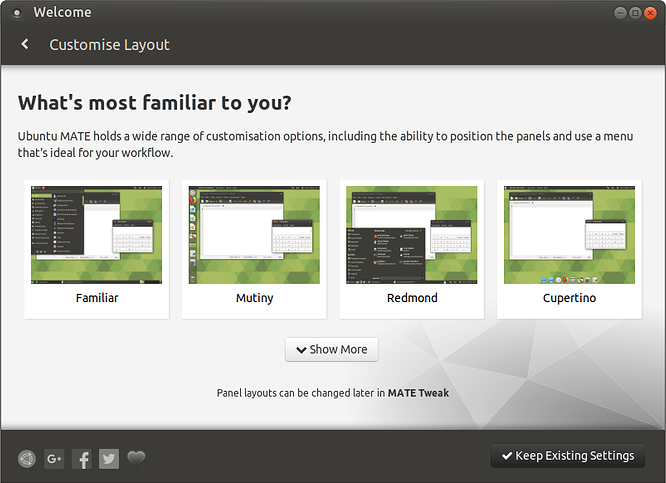
From the main page of Ubuntu MATE Welcome you can also click on the Customise Panels button to open a page that lets you select the panel layout right from the Welcome application.
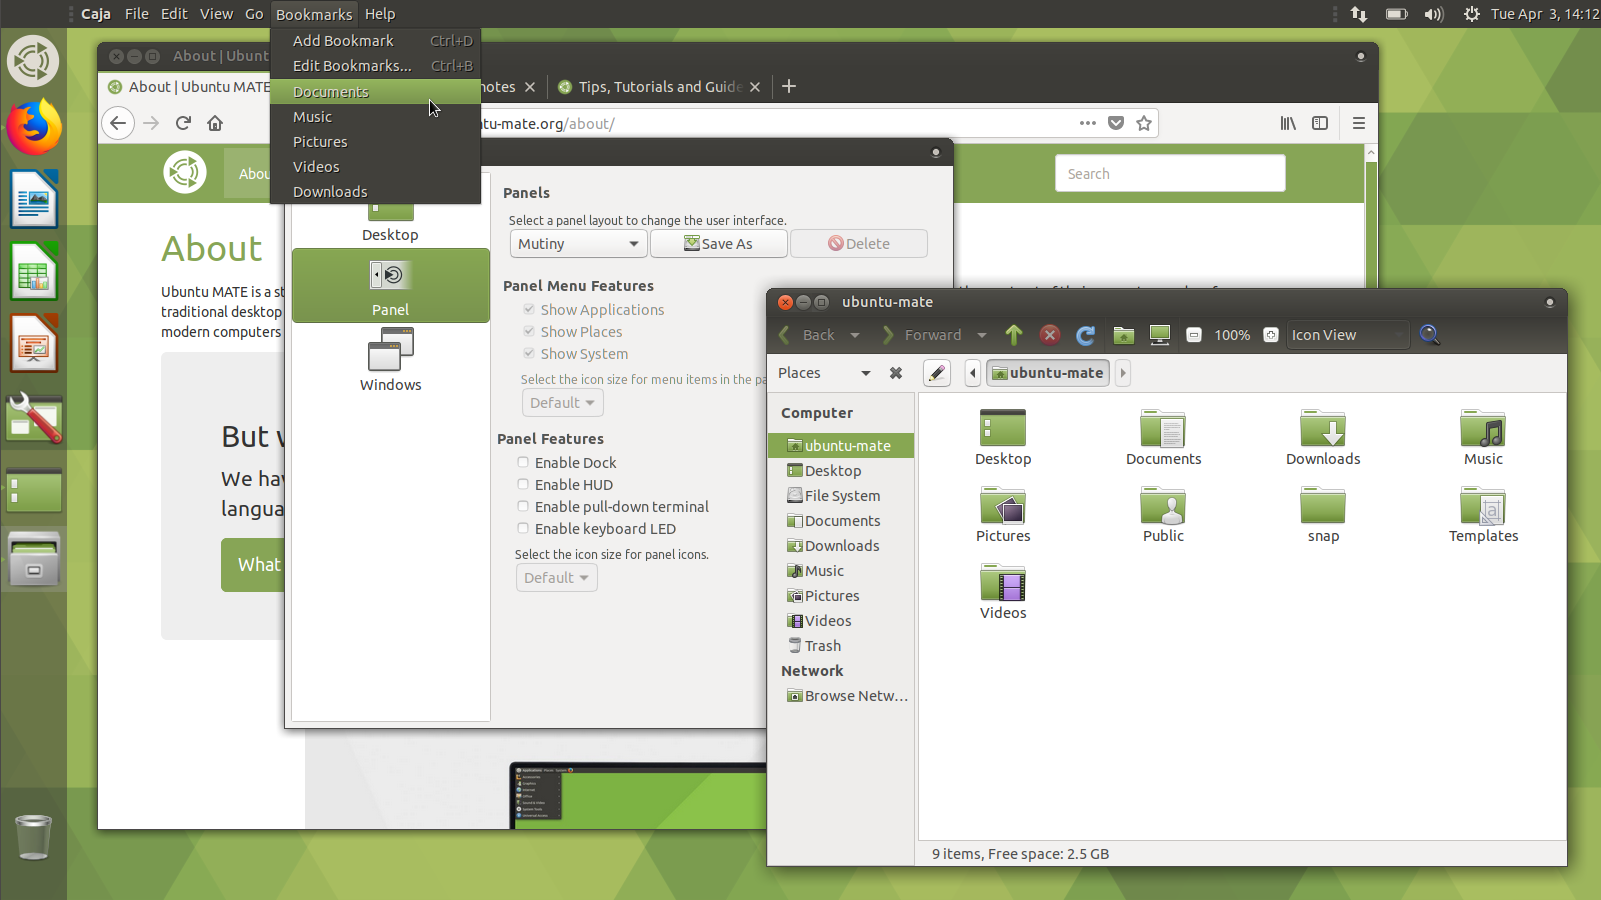
Of course, since this is Linux, with any of these eight layouts, you can move the panels to the sides of your screen if you like, you can add or remove a dock, and you can even name and save your own customized panel layouts to make it easy to switch between them. All of this is done from MATE Tweak. Using the MATE Tweak application, you also can control the size of the icons that appear in the panels, which icons display on your desktop, and whether the windows show some animation or snap into position when they open. You can even change whether the window controls for Close, Minimize and Maximize appear on the left, like macOS, or on the right, like Windows.
Familiar (Ubuntu-MATE) Layout
When you first install Ubuntu MATE, you'll be using its own layout, named Familiar. The Familiar layout, introduced in release 18.04, is based on the Traditional layout with the menu-bar (Applications, Places, System) replaced by the Brisk menu's simple "Menu". The Familiar layout has a clock in the top right, and a panel with the list of open applications at the bottom. The menu for each application appears at the top of the application's window in the familiar way -- that is 'familiar' if you are used to the way it's done on Microsoft's windows. If you prefer to try something else, you can select a different panel layout using the MATE Tweak "Panel" options.
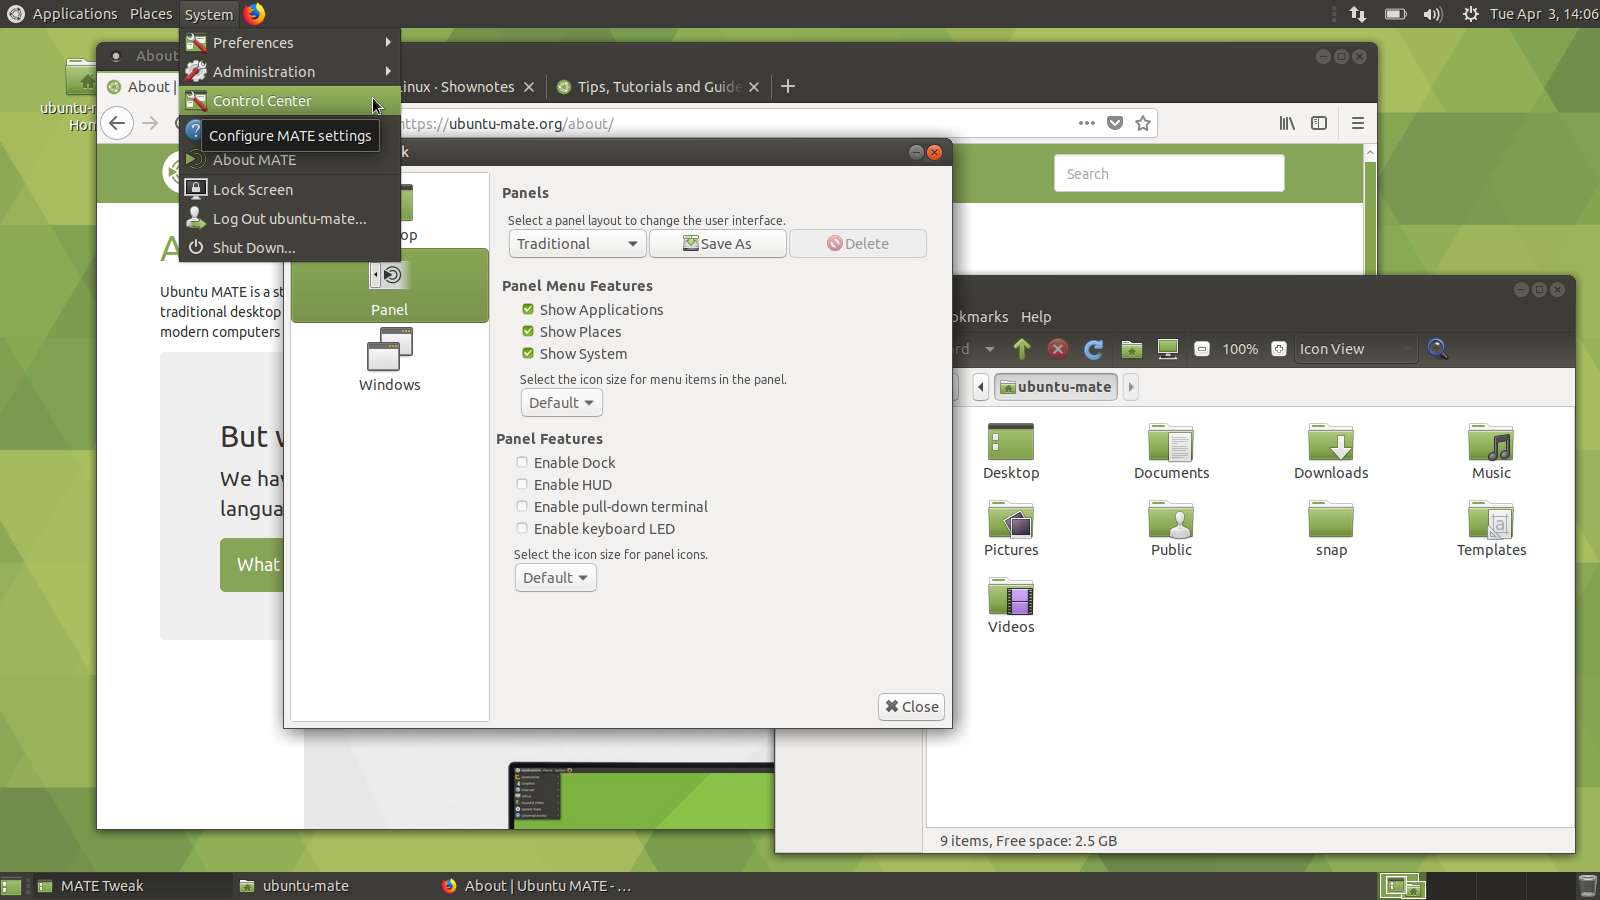
Traditional Layout
The Traditional layout was the default Ubuntu MATE Layout prior to release 18.04. It has a classic look of Linux with a menu-bar (Applications, Places, System) in the top left, clock in the top right, and a panel with the list of open applications at the bottom. The menu for each application appears at the top of the application's window. This is the traditional way application menus appear on Microsoft's windows.
Contemporary Layout
The Contemporary layout has the classic look of Ubuntu MATE's default Traditional layout, with a menu in the top left, clock in the top right, and a panel with the list of open applications at the bottom. A significant difference from the Traditional layout is that, in the Contemporary layout, each application's menu always appears in the top panel rather than within the individual application's window. Called the "Global Menu," this feature was introduced for Ubuntu MATE 17.10 and is implemented in the traditional way Apple handles menus for its application windows.
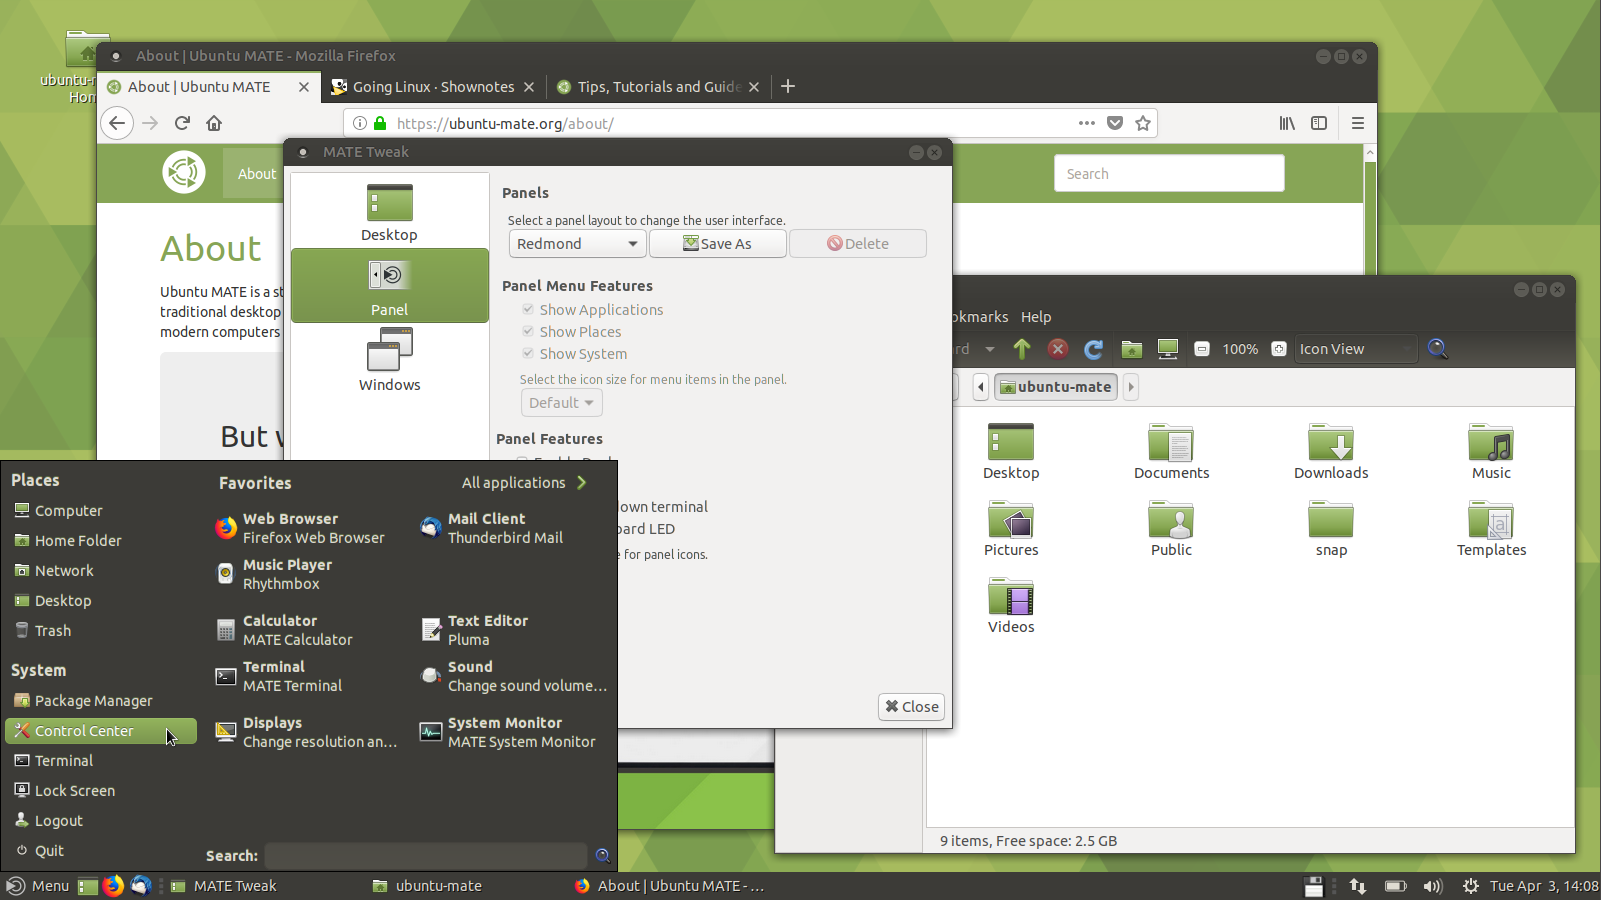
Redmond Layout
The Redmond layout is similar to Microsoft Windows, with a single taskbar containing a menu, a list of open applications, and a clock at the bottom of the screen. Each application's menu appears at the top of that application's window in the traditional Windows way. Another distinctive feature of the Redmond layout is the "advanced menu" that provides a configurable list of favorite applications as well as an optional simple list of all applications. This will be familiar to users of the Linux Mint distribution.
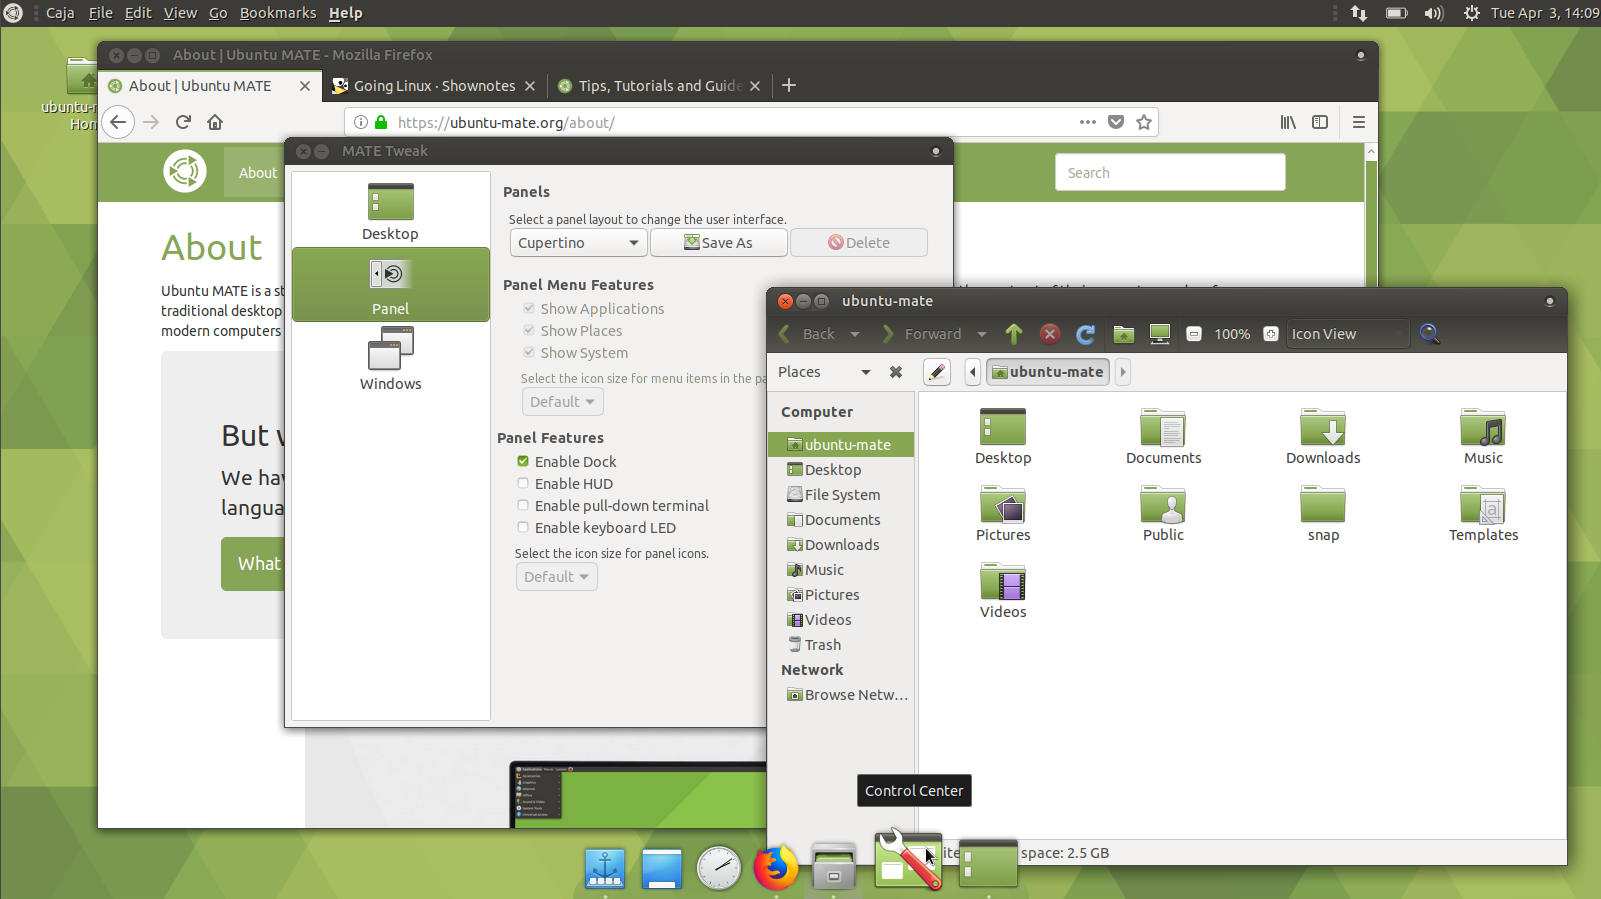
Cupertino Layout
The Cupertino layout is similar to Apple's macOS with a panel at the top of the screen and a dock at the bottom. The dock is used to display the pinned and open applications, and to launch applications. Of course, this layout uses the Global Menu so that the application menus always appear in the top panel rather than on the application windows, in the traditional macOS way. You'll notice one distinctive difference between the Cupertino layout's Ubuntu MATE logo icon in the top left corner, and macOS's Apple logo icon. Instead of a small menu that gives you access to some basic Apple system tools, the Ubuntu MATE icon gives you access to the entire menu of applications, utilities, and system tools.
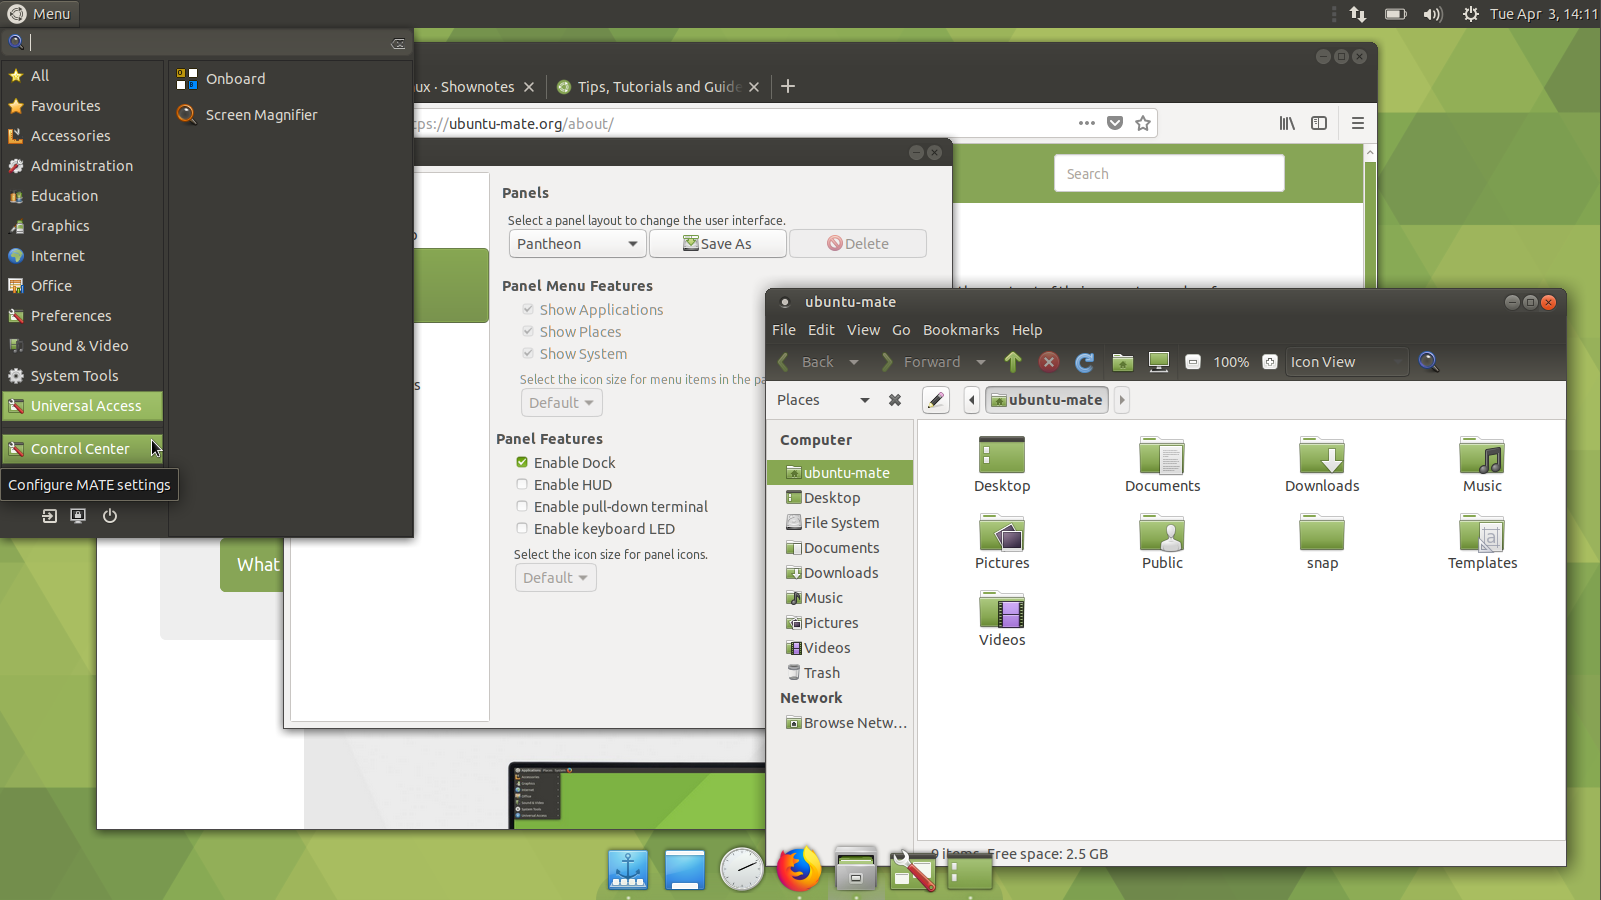
Pantheon Layout
The Pantheon layout is a blend of the Contemporary layout and the Cupertino layout. It has both a menu in the top left and a dock at the bottom of the screen to display pinned and running applications. Each application's menu appears at the top of that application's window, just as it does in the Redmond layout.
Mutiny Layout
If you have tried other Ubuntu flavors and you like the look of the Unity desktop, you'll find the Mutiny layout familiar. It mimics, as closely as possible, the Unity 7 interface used in traditional Ubuntu through 2017. Mutiny uses the Global Menu which displays application menus in the top panel and not in the application windows. Mutiny also has a dock of icons on the left of the screen to launch applications, show pinned applications, and show running applications.
Netbook Layout
Designed specifically for small screens, the compact Netbook layout has a single taskbar, menu, clock, and list of open applications at the top of the screen. There is no dock or panel at the bottom. That way everything is accessible no matter how small your screen.