
How to enable FreeSync on Ubuntu Mate
- First we need to check the system kernel
Press :CTRL-ALT-T to open the terminal
Type in the terminal:
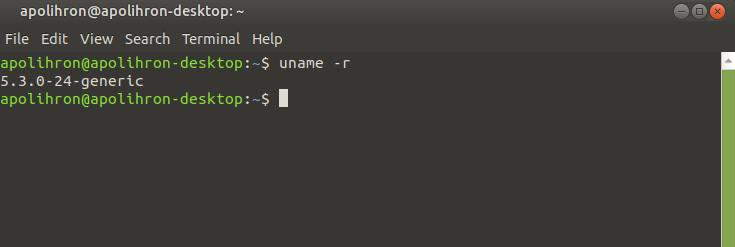
uname -r
This command will help you to see what kernel version you have. FreeSync is available from kernel 5.0 and up
- Check the monitor if it is vsync capable
Press :CTR-ALT-T to open the terminal
Type in the terminal:
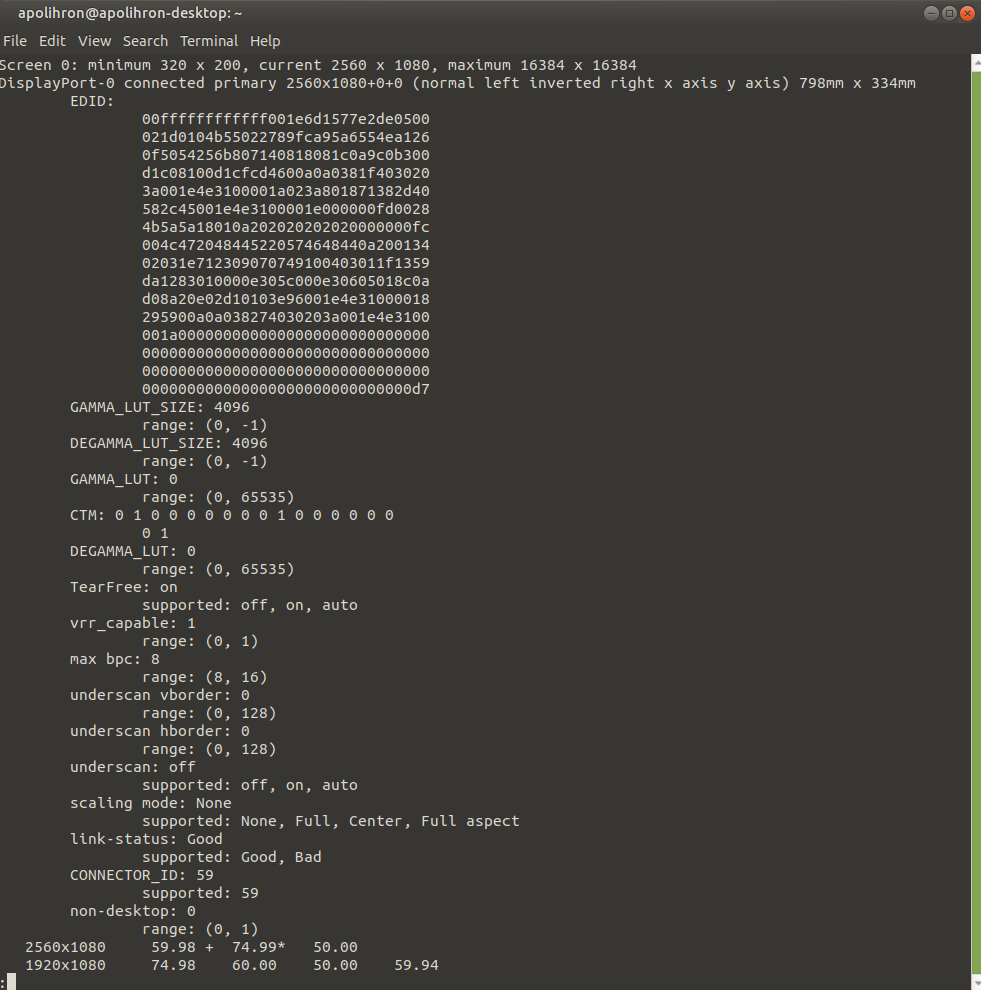
xrandr --prop | less
Check for the line vrr_capable:x, If it's 1 then the monitor is vsync capable , if is 0 then is not.
- Enable vsync on your system
Press :CTR-ALT-T to open the terminal
Type in the terminal:
sudo mkdir /etc/X11/xorg.conf.d/
Type in the terminal:
echo -e 'Section "Device"
Identifier "Radeon"
Driver "radeon"
Option "TearFree" "on"
Option "VariableRefresh" "true"
EndSection' | sudo tee /etc/X11/xorg.conf.d/20-amd.conf

-
Reboot your OS
-
Check to see if vsync is enable on your OS
Type in the terminal:
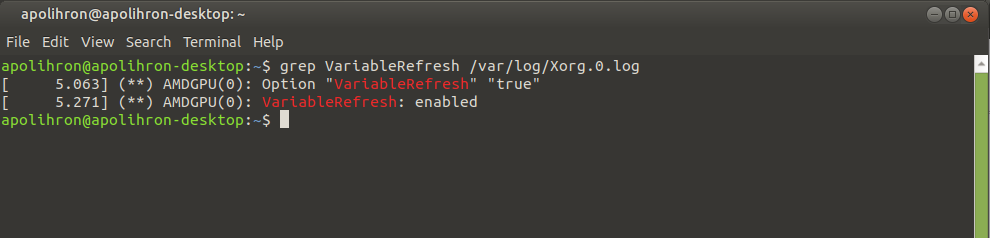
grep VariableRefresh /var/log/Xorg.0.log
 Limitations
-
You can only use Freesync with DisplayPort as of kernels 5.x. Support for HDMI may be added in the future.
-
Freesync will only work for games and programs running full screen .
****For a more extensive tutorial you can take a look at https://linuxreviews.org/HOWTO_enable_Adaptive_Vertical_Sync_(Freesync)_on_AMD_GPUs