internal display is disconnected from the m/b, the only monitor is the external. BIOS does not care about resolution, there is no preset value. The laptop's graphics chip will negotiate with the monitor and display whatever resolution the monitor can support. The graphics chip may be able to do 1920x1080 but is the monitor can do 1024x768, that will be the resolution. Since it boots windows, Fn+F5 will do nothing b/c there is only one monitor. There is no secondary screen.
Pressing F2 upon boot, the laptop should go into BIOS no matter what.
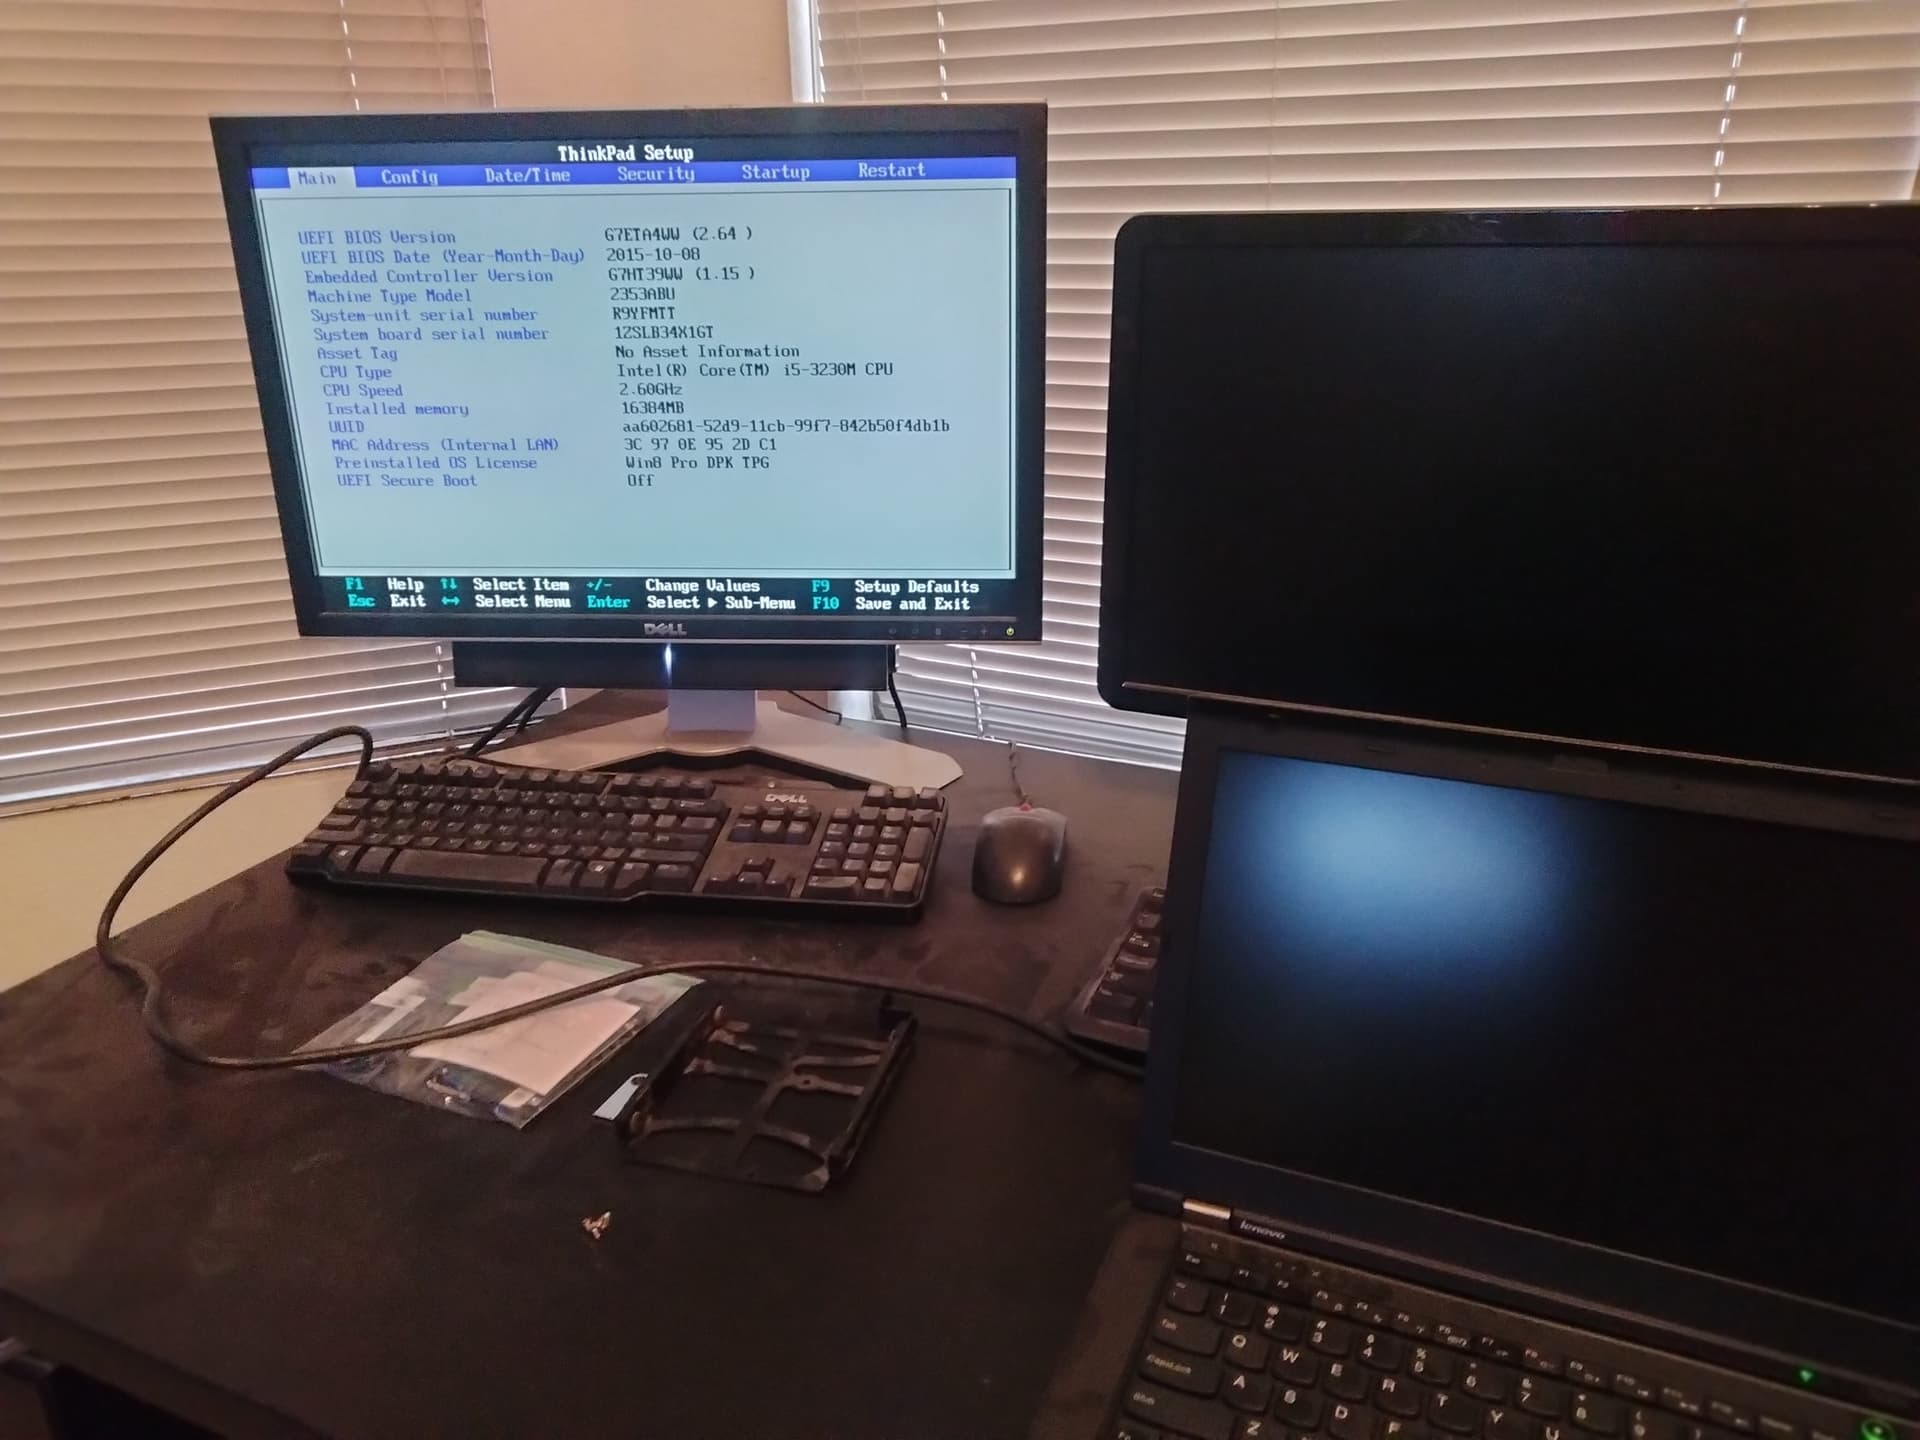
Not that this helps you but I used my T430 laptop, connected an external VGA monitor, booted the laptop into bios, pressed Fn+F7 and BIOS shows up on the big monitor. The laptop screen is blank.
First of all let me thank all you guys for the time you're dedicating helping me in this at least in part self-inflicted convoluted series of issues I have.
@ricmaques Yes, the video is confirming my recollection, I had to disconnect the screen cable in the attempt to see the grub and EUFI, unfortunately the difference was between a black screen and a black screen with that "frequency not supported" message that implied that at least something was sent to the screen, and after a series of attempt of messing with the grub file trying to make it work i gave up and accepted that I had to going in blind, which worked fine until now.
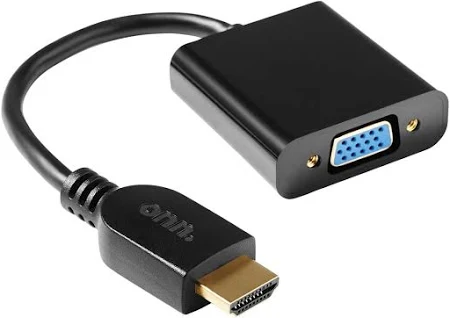
@pavlos_kairis Yes, I believe that pressing F2 I'm entering UEFI, I think I'm in UEFI right now, all I get is that "frequency not supported" message floating up and down. For what is worth, my external monitor is also connected with a HDMI/VGA adapter, but it's an Acer.
I burned an Ubuntu Mate 20.04 live USB, tonight or tomorrow I'll see if repeating the whole grub-install update-grub through the live USB that worked fine in the beginning makes any difference. Otherwise i suppose I'll reinstall from scratch, even if the possibility that the grub still won't work seems real at this point.
My example was not that good since the Lenovo BIOS is text based (does not care about resolution), modern laptops have a graphical BIOS like the video Ric sent. I assume you use this adapter, input HDMI and converts it to VGA.
And about the BIOS-UEFI thing, the thing my PC used to show before breaking the screen was text based. It was my understanding that it still was UEFI, as it had a secure boot. It's been a while I saw it (when Installed Ubuntu in, err, 2018?) but I think it was UEFI and not BIOS. Isn't BIOS sort of deprecated?
That's great I suggest that you also read the following web page:
... that includes the very following nice summary ("TL;DR") in the beginning of that article:
" TL;DR
If your grub menu does not show up even after you set GRUB_TIMEOUT_STYLE=menu and GRUB_TIMEOUT=10 in /etc/default/grub and updated the grub, try setting (uncommenting) GRUB_TERMINAL=console as well and re sudo update-grub .
(...) "
Also, please remember that if you are going to try to install and/or update GRUB while booting from an Ubuntu (MATE) Live USB, then you should do those GRUB installations and/or GRUB updates inside a "chroot" environment as described, for instance, in the following answer in "Ask Ubuntu" ( please note that your Ubuntu MATE "main" filesystem in your "disk" - be it an HDD or a SSD - may or may NOT be in the /dev/sda1 partition at the time you boot your system from your Live USB! To determine that, you'll have to study the output of commands such as the following: sudo fdisk -l /dev/sda /dev/sdb /dev/nvme0n1 ):
UEFI is planned to replace BIOS but ... there are tech details (pros/cons) as well as business decisions between Vendors. It still remains a thorny issue.
I burned a Ubuntu Mate 20.04 live USB, but now at boot the PC stays indefinitely in the "frequency not supported" screen until i press enter, and it boots Windows. If I press down arrow one or twice before pressing enter, it still boots Windows. I had no problem booting the live USB when it was the 24.04 version. The same 20.04 USB works fine on another PC, the "Try Ubuntu" option is the first of the list and in any case it boots the live USB if I wait few seconds.
I think I'm giving up.
To boot an Acer laptop from a USB drive, you can change the boot order in the BIOS. You can also try repeatedly pressing the F12 key during bootup. F12 has to work.
Yes but... I can't see a thing.
And then again, I didn't needed it just yesterday. I know I set the USB port as the first one in the boot order. I did years ago when I installed Ubuntu.
There's nothing to switch to as far as I can tell, in the sense that the external monitor is already receiving signal. However, it cannot interpret for some reason. It always says "frequency not supported", either if I'm on the grub page, UEFI/BIOS or else. Before I disconnected the internal screen from the motherboard, it didn't even showed that. That tells me that the UEFI and grub pages are sent to the external screen, but their resolution or whatever else is not understandable to the screen. I can't see a thing until an OS is running.
Edit: I just tried, just to be safe, to press Fn+F5 during that "frequency not supported" message, and it does nothing.
If you can't even see the UEFI screen; there's something seriously wrong that isn't related to GRUB or Ubuntu MATE. At this point I'd try to flash the UEFI from Windows to be sure that that is back to its (factory or otherwise) baseline.
GRUB uses UEFI to handle the display; so until you can get the UEFI/BIOS screen up; GRUB won't have a hope either.
You mean through the Advanced Startup from the Update & Security settings? The first blue screen works fine, but as soon as I hit restart to boot the UEFI, I'm back at the "frequency not supported" message.
Just a thought: have you tried to connect your laptop to another monitor or even to a LED TV but using a "plain" HDMI <-> HDMI cable? Does that make any difference?
Unfortunately I don't own another monitor otherwise I would have already tried it. I'll see tomorrow if I can connect it to the TV, thanks for the suggestion.
Another idea: there is a usb capture device, around $10 on eBay which gets hdmi as input and connects to another pc to usb. In that other pc, you install obs studio https://obsproject.com/ which allows you to capture the hdmi video. I use this trick for raspberry pi.
This will merely ensure that your BIOS is as it should be. This may not fix the problem, but it's worth doing either way.
Ensure that your device is plugged in when you run the updater (you don't want it to go to sleep or have power cut while updating your BIOS). There shouldn't be much to this step other than extracting the updater and running it.