Ubuntu MATE 15.10 for the Raspberry Pi 2

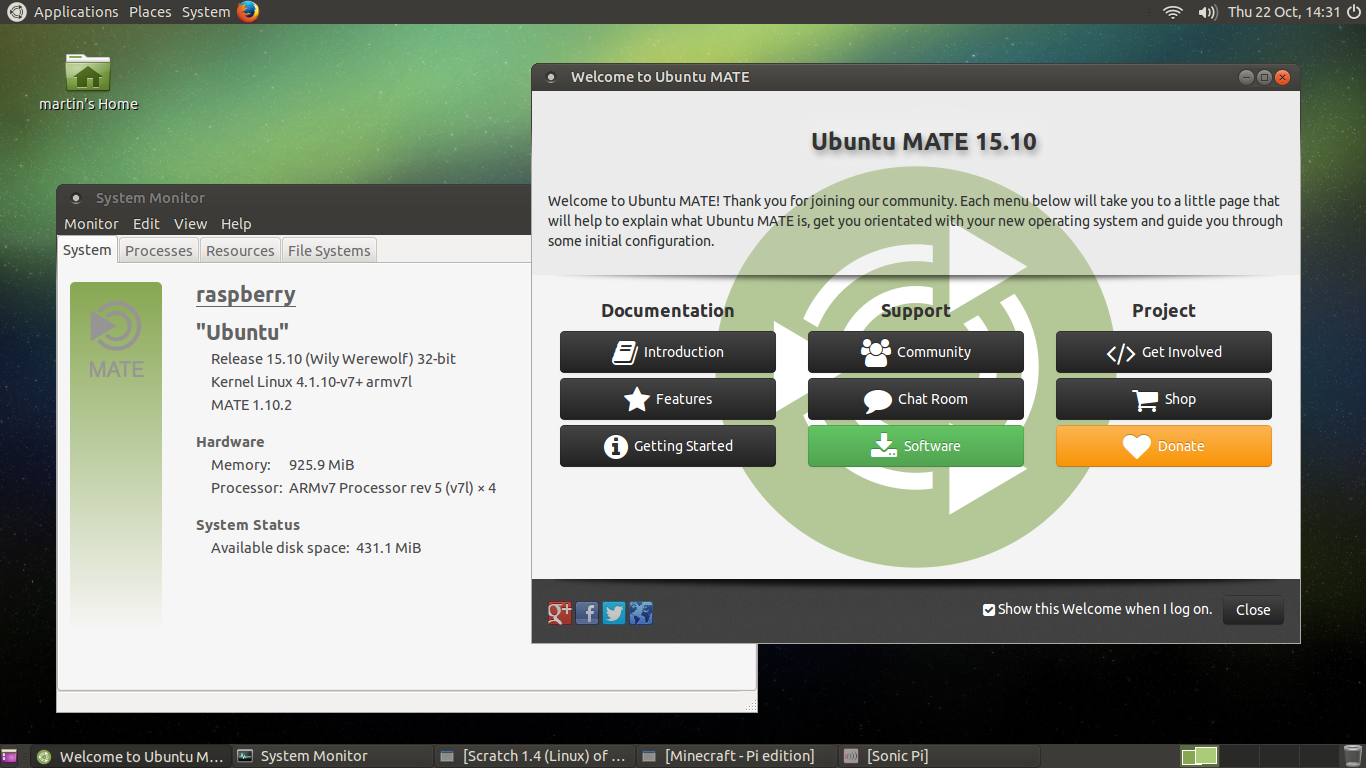
Ubuntu MATE 15.10 for the Raspberry Pi 2.

@Wimpy and @rohithmadhavan have made an Ubuntu MATE image for the Raspberry Pi 2 which you can download or build yourself.

The image is functional and based on the regular Ubuntu armhf base, not the new Snappy Core, which means that the installation procedure for applications is the same as that for the regular desktop version, ie using apt-get.

We have done what we can to optimise the build for the Raspberry Pi 2 and one can comfortably use applications such as LibreOffice, which in fact is a joy to use :slight_smile: But the microSDHC I/O throughput is a bottleneck so we recommend that you use a Class 6 or Class 10 microSDHC card. If you build the image yourself we recommend you use the f2fs
filesystem.

You'll need a microSD card which is 4GB or greater to fit the image. The file system can be resized to occupy the unallocated space of the microSD card, similar to Raspbian.

NOTE! There are no predefined user accounts. The first time you boot the Ubuntu MATE image it will run through a setup wizard where you can create your own user account and configure your regional settings. The first boot is quite slow, but once the first boot configuration is complete subsequent boots are much quicker.

Download

A pre-built image available from the Ubuntu MATE website.

Putting the image on microSDHC

Download the image and then:

  1. Extract the .img.bz2 archive to get the image file.
bunzip2 ubuntu-mate-15.10-desktop-armhf-raspberry-pi-2.img.bz2
  1. Write the image file to the microSD card as root.
sudo ddrescue -d -D --force ubuntu-mate-15.10-desktop-armhf-raspberry-pi-2.img /dev/sdX

The drive may be mounted on any /dev/sdX so use the command lsblk to
check.

Re-size file system

There are no utilities included for automatic file system re-sizing. However,
it's not hard to do manually. Once booted:

`sudo fdisk /dev/mmcblk0`

Delete the second partition (d, 2), then re-create it using the defaults
(n, p, 2, enter, enter), then write and exit (w). Reboot the system, then:

`sudo resize2fs /dev/mmcblk0p2`

Enable and Disable X11

We created a simple utility called graphical to disable/enable the MATE desktop environment for easily creating a headless "server". Executing graphical disable will present a console login on the next boot, with now X11 or associated services running. If you want to get the full Ubuntu MATE desktop back, run graphical enable and reboot.

Hardware accelerated video

Most videos will play with hardware acceleration using omxplayer which is pre-installed in Ubuntu MATE. However if you have MPEG-2 or VC-1 video video files then you will need MPEG-2 and/or VC-1 licenses from the Raspberry Pi Store.

Redirecting audio output

You can select which audio device omxplayer should output audio to.

For HDMI

omxplayer -o hdmi video.mp4

For 3.5mm audio jack

omxplayer -o local video.mp4

The sound will output to HDMI by default if both HDMI and the 3.5mm audio jack are connected. You can, however, force the system to output to a particular device using amixer.

For HDMI

sudo amixer cset numid=3 2

For 3.5mm audio jack

sudo amixer cset numid=3 1

Feedback and Improvements

Please post all feedback here, in this topic. If you have any improvements then please submit a pull request to our
BitBucket.

Credits

  • Rohith Madhavan - Made the Ubuntu MATE 15.04 image.
  • Martin Wimpress - Added first boot setup wizard and architecture optimisations.
  • Ryan Finnie - Raspberry Pi 2 Kernel, Firmware and video driver packages.
  • Sjoerd Simons - Made the initial Raspberry Pi 2 kernel patches for Debian Jessie.
  • Sergio Conde - Maintains omxplayer for the Raspberry Pi.
  • Spindle - a tool to help spin distribution images

Changes

2015-10-22 - Ubuntu MATE 15.10 for Raspbery Pi 2 Final Release

  • Added OMXPlayer GUI.
  • Added YouTube Downloader.
  • Added fake-hwclock.
  • Added python-spidev and python3-spidev.
  • Added python-codebug-tether and python3-codebug-tether.
  • Added python-codebug-i2c-tether and python3-codebug-i2c-tether.
  • Added file system integrity checking on first boot.
  • Optimised first run of MATE Menu.
  • Optimised LibreOffice icons.
  • Reinstated oem-config, which has been patched for the Raspberry Pi 2.
    • Now includes the Ubuntu MATE slideshow.
  • Fixed udev rules and groups for accessing spi.
  • Fixed Scratch, it now runs via a sudo wrapper.
    • Simliar to how Raspbian does it except only Scratch can be executed with elevated privileges, not everything.
  • Removed Compiz.

2015-10-14 - Ubuntu MATE 15.10 for Raspbery Pi 2 Release Candidate

  • Fixed framebuffer so it now uses 32-bit colour depth.
  • Added Minecraft Pi Edition 0.1.1-4.
  • Added Scratch 20150916.
  • Added Sonic Pi 2.7.0-1.
  • Added essential Python 2.7.x and Python 3.4.x libraries.
  • Added raspi-gpio.
  • Added python-rpi.gpio and python3-rpi.gpio.
  • Added python-serial and python3-serial.
  • Added python-picamera and python3-picamera.
  • Added python-sense-hat and python3-sense-hat.
  • Added python-astropi and python3-astropi.
  • Added python-pygame and python3-pygame.
  • Added udev rules for gpio, input, i2c, spi, vchiq.
  • Added /usr/local/sbin/adduser.local hook to automatically add new users to the adm, gpio, i2c, input, spi and video groups.
  • Added openssh-server with first-boot host key regeneration.
  • Added graphical a utility to disable/enable the MATE desktop environment for easily creating a headless "server".
  • Updated to Linux 4.1.10.
    • Now using the kernel, firmware and drivers from Raspberry Pi Foundation and includes rpi-update to easily update the kernel and firmware.
  • Updated /boot/config.txt so it is now fully documented.
  • Updated to raspi-copies-and-fills (high performance memcpy and memset) 0.5-1.
  • Updated to xserver-xorg-video-fbturbo (an accelerated x.org driver) 0~git.20151007.f9a6ed7.
  • Updated to omx-player 0.3.6~git20150912~d99bd86.
  • Updated /boot/config.txt so when HDMI is connected audio is sent over HDMI by default.
  • Enabled Plymouth to improve startup and shutdown performance.
  • Removed oem-config.

2015-04-22 - Ubuntu MATE 15.04 for Raspberry Pi 2 Final Release

  • Enabled Ryan Finnie's PPA.
  • Changed from cfq to deadline I/O scheduler.
  • Added xserver-xorg-video-fbturbo (an accelerated x.org driver) 0~git.20150305.e094e3c-1.15.04.
    • Limited to hardware accelerated window moving and scrolling.
  • Added raspi-copies-and-fills (high performance memcpy and memset) 0.4-1.
  • Added oem-config so first boot provides a setup wizard.
  • Added rpi2-ubuntu-errata for facilitating post-release updates/migrations.
  • Added sym-links to VideoCore utilties in /opt/vc/ for 3rd party script compatibility.
  • Added f2fs support to the build script.
    • Pre-built images available for download use ext4 because f2fs file systems can not be resized
      at present.
  • Updated to Linux 3.18.0-20.21.
  • Updated to flash-kernel 3.0~rc.4ubuntu54+rpi2.4.
  • Updated to omxplayer 0.3.6~git20150402~74aac37.
  • Updated to raspberrypi-firmware-nokernel 1.20150402.3ea439c-1.
  • Updated to raspberrypi-vc (VideoCore GPU libraries) 1.20150323.7650bcb-1.
  • Fixed /etc/network/interfaces so that the Ethernet device is now configurable via Network Manager.
  • Removed openssh-server until host key regeneration can be integrated.

2015-03-14 - Ubuntu MATE 15.04 for Raspberry Pi 2 Beta 2

  • Enabled systemd as the init system.
  • Added raspberrypi-vc (VideoCore GPU libraries) 1.20150301.0de0b20-3.
  • Added omxplayer 0.3.6~git20150217~5337be8.
  • Added linux-firmware.
  • Added openssh-server.

2015-03-07 - Ubuntu MATE 15.04 for Raspberry Pi 2 Beta 1

  • Initial Release.

TODO

  • Add automatic reszing of the root file system.
  • Add raspi-config or equivilent.
1 Like

Install was smooth, and other than sound issue, love MATE. I cannot get sound to work. I’ve edited config.txt and checked everything. NO SOUND over HDMI. Please help!

My install was smooth as well, the instructions for using resize2fs to reclaim the full size of the SD card were clear. I’m getting a fair number of “crash reports” and am submitting the information afterwards, but generally it seems things pretty much work as expected so far.

My main problems at the moment are my display looks to be setup for an overscan HDTV instead of a 1920x1080 computer panel. The Display Control Panel does nothing – everything is either grayed out, or non-functional. How do I get the full 1920x1080 display.

My other problem is getting our networked printer to work. No problems doing so on Ubuntu-Mate 15.10 i386 on a Dell Latitude laptop, but I got a crash report when “searching for drivers” started and no drivers were shown.

Is there support for the Raspberry pi cameras? If so, what is the package name?

Good job so far, I’m really looking forward to 16.04 as I prefer LTS versions. I’d really prefer a “rolling release” if there was one that offered decent stability.

Edit: My sound worked out of the box over HDMI to my monitor, although there seems to be a “click” at the start of every sound.

Its easy to get the full size HDMI display – in /boot/config.txt there is a line disable_overscan=1, uncomment it and reboot. I used: sudo nano /boot/config.txt to do it. My display looks much better now!

It also looks like the lines to enable the camera module are in there but commented out, you’ll also need to make the gpu memory be at least 128. I’ll do this if the Pi camera libraries are installed or can be found, as I have a Pi NoIR camera module attached.

1 Like

Is the GPU memory change required for the Pi Camera module or just generally the right thing to do?

Thanks for the feedback, this is how we improve :slight_smile:

I believe the GPU memory needs to be 128M for all Pi versions for the camera module to work. Its a real problem for the variations with only 256M (if they really ever made it to market).

I tried the “add printer” again and got the same result – a crash report dialog while doing the “search for drivers”. It worked fine on my 15.10 Ubuntu-Mate i386 laptop.

I’d never put an image onto a (mini)SD card before, and I ended up having more trouble than I expected… I did succeed by following the steps I’ve pasted at https://pastebin.com/0eSc55tF. The suggested steps for extending the partition to the size of the SD card were then straight forward.

On https://ubuntu-mate.org/raspberry-pi/ it says “If you build the image yourself we recommend you use the f2fs filesystem”, I so far only managed to get it to work with ext4, any suggestions given the steps I did use for how to try to get f2fs to work?

Also, to actually restore the img I ended up using Disks under preferences (on my laptop I’m running ubuntu 14.04 with gnome-session-flashback), however I’ve noticed it’s not under System->Preferences on MATE once I’ve started it up on the pi2. So the steps I did use wouldn’t work for people trying to repeat them on MATE…

This didn’t work for me… Image still flickering and somewhat dislocated in the monitor. 15.04 displays perfect but I can’t seem to make the monitor work properly with 15.10. Monitor has no HDMI but has a DVI port, so I used an adapter, then connected an HDMI cable to the adapter.

Any other suggestions to make my Pi make peace with my monitor under UMate 15.10?

I’ve not had any luck using an HDMI cable to DVI adaptor with other ARM boards like the Pandaboard or Beaglebone Black, but I’ve never tried it with my Pi2, having bought a 1080p LCD monitor “on sale” at Fry’s to solve the problem back then.

Only thing I can suggest is try to edit /boot/config.txt and change hdmi_drive=2 to hdmi_drive=1 for DVI. Also you could also try enabling config_hdmi_boost to output a stronger signal, or maybe force a mode to match your display using hdmi_mode= using one of the magic numbers described in the comments to match your display.

Maybe this thread will come to the developer’s attention and they’d have a clue based on what changed between 15.04 and 15.10.

I’m not sure Ubuntu-Mate is right for my Pi2, it seems a bit sluggish compared to the Raspbian 1.4.1 build, but If they avoid radical UI changes for 16.04 it’ll definitely be what I use to upgrade my wife’s 10.04 desktop! I do like the desktop though.

I find it curious that 15.10 uvcview works with my HP HD-2200 webcam, while the one from Raspbian doesn’t.

you gave me this great idea. Instead of setting I just commented it out. It worked. I also tested with DVI mode and it worked too. I’ll leave it commented and let the pi decide what to do when I plug it on my monitor or the tv, pretty much like it was with the blank config.txt from 15.04 :smile:

but thanks for the tip, it totally worked!

1 Like

I edit /boot/config.txt and change hdmi_drive=2 to hdmi_drive=1 for DVI and it works fine! But the display standby just blackens the screen, display backlight is still on tho, so not saving any power.

what can I do?

Hello!

It’s my first time using UBUNTU on a Raspberry. After installed and all configurations, while using like on Firefox and even installing a printer, the system reboots randomly. Has any one faced this too?

For anyone having issues writing the image to the SD card, this guide worked for me (I’m using a Mac but they have also instructions for Windows and Linux):
http://www.udoo.org/docs/Getting_Started/Create_A_Bootable_MicroSD_card_for_UDOO

Before doing anything I formatted the SD card first using the SD foundation’s tool ( sdcard org/downloads/formatter_4/ ) selecting option > logical address adjustment (yes) and overwrite format. Then I used disk utility to format the card in FAT32 (necessary for cards over 32gb, but you can do it for any card). After this I followed the above tutorial. If this fails you can try the install instructions for Raspian here, as they seem similar: https://www.raspberrypi.org/documentation/installation/installing-images/README.md

Good luck!

Excellent image! :sunglasses:

My only stumbling blocks were quickly worked out by carefully re-reading the instructions for expanding the filesystem. After that, and rebooting, it’s running clean and fast! :grin:

I’m a highly experienced hardware modder, and IT professional by trade, so I actually already had a preference for Ubuntu-Mate on X86 and was waiting… somewhat patiently… for the releases on RasPi2 to catch up with the stability of the x86 builds. I liked what I initially saw, but I ended up rolling my own from a raspbian based underlying OS install, and installing Mate, manually, on top of that. It worked, but it doesn’t have the tweaks… the finesse… of a native install of Ubuntu-Mate. I have 2 RasPi2 systems, 1 running OpenELEC, dedicated, and the other as a multi-role system, for traditional workstation OS’s and RetroPi gaming. I’ve just replaced my Raspbian install on my 32GB microSD with the 15.10 image. I’m very pleased with the results, and I can work around any config issues to get this in action. I’ll report any problems I may find to the appropriate place.

I really appreciate what the team has done here. Keep up the great work! :+1:

2 Likes

Some challenges I’ve found with this release of UbuntuMATE 15.10 when using a RTC chip hooked up on the GPIO pins of the RPi 2 device.

Maybe the little tutorial described in my post can be taken into consideration as a little enhancement…

Otherwise, I noticed with the journalctl command that the kernel does not immediately read the date and time settings from the RTC chip during the boot up process.

Linux 4.4-rc1 has been released. New features of Linux 4.4
include a Raspberry Pi kernel mode-setting driver, support for 3D
acceleration by QEMU guest virtual machines, AMD Stoney APU support,
Qualcomm Snapdragon 820 support, expanded eBPF virtual machine programs,
new hardware peripheral support, file-system fixes, faster SHA crypto
support on Intel hardware, and LightNVM / Open-Channel SSD support.

Make display go to sleep, add hdmi_blanking=1 into /boot/config.txt

1 Like

It works, even when using a HDMI2DVI adapter.

Putting the parameter “hdmi_blanking=1” in the “/boot/config.txt” file allows me do disable all screen saver functions in the UbuntuMATE OS, and thus reducing processing power :grin:

1 Like

I’ve downloaded from a couple of different mirrors that you have listed and the output from md5sum for the downloaded file does not match the hash which you’ve posted (059d74d51d0f36fd30b504907f646e6d). I am seeing 61287c1881b166c05b89a8cdc39e12b5 as the hash. I also tried the hash on the .img file instead of the .xz file, and that doesn’t match either. Was a newer version uploaded and the value not updated on the web page for the project? File is: ubuntu-mate-15.10.1-desktop-armhf-raspberry-pi-2.img.xz