You can find Unetbootin at the following ppa -
https://launchpad.net/~gezakovacs/+archive/ubuntu/ppa
The ppa has versions for bionic and previous. There is a questions/answers section for those with problems of one sort or another.
Once you have added the ppa to your system and downloaded and installed Unetbootin, you can use it to create a bootable live USB. You can also create a persistent live USB that allows you to save settings, install a needed wireless driver, and configure your live USB as you see fit.
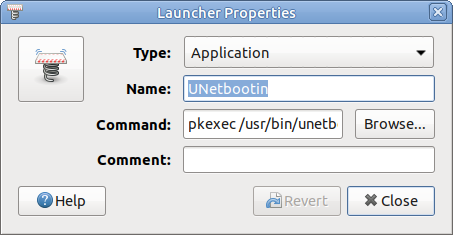
If you plan on using this utility more than once, it would be nice if you used mozo (System> Control Center> Look and Feel> Main Menu) to check and perhaps edit Unetbootin's properties to include pkexec just before /usr/bin/unetbootin which launches Unetbootin. It requires superuser rights in order to properly run. Just a precaution.
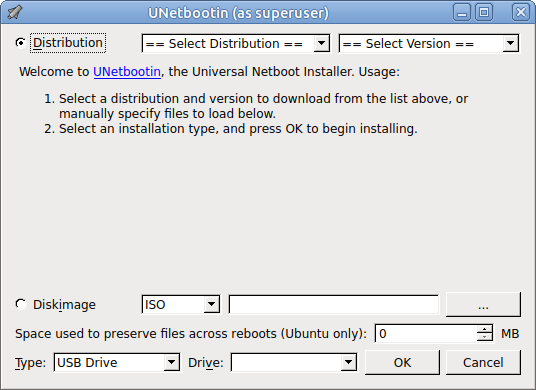
The screenshot below shows what Unetbootin looks like when you launch it:
You should select Diskimage (an .ISO file that you've already downloaded) and find it using the three dots selection box. In Space used to preserve... enter all 9's. This allows the entire flash drive to be used as persistent storage. When you've done that, your dialog box should look something like the one below:
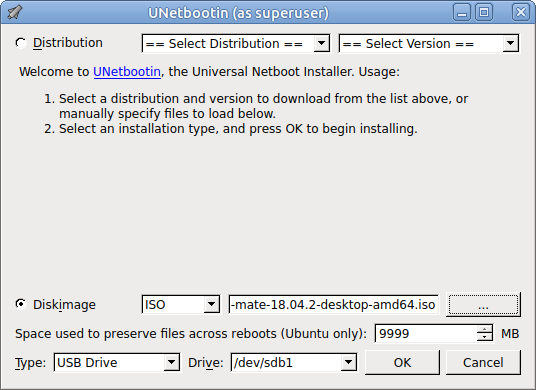
You should have an empty freshly formatted fat 32 bit USB key plugged in and ready to use. Click OK to start the process.
Unetbootin is slow to watch doing its thing on an old laptop but you should patiently wait it out.
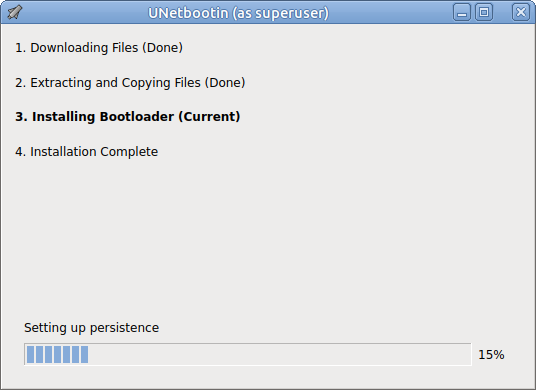
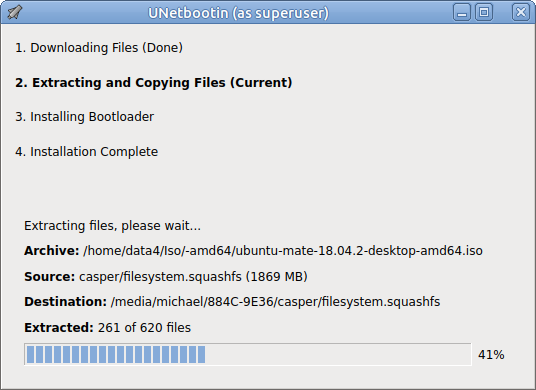
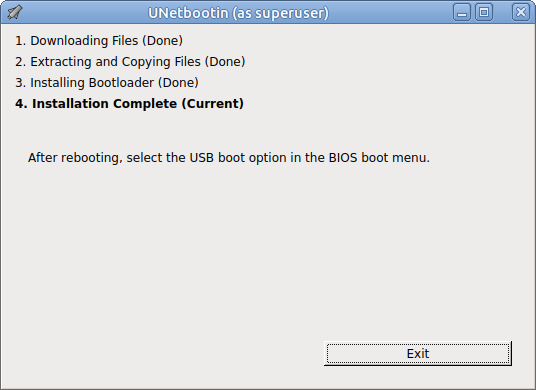
Don't prematurely stop Unetbootin until it is entirely done as shown below:
Once back into 18.04, I edited the Unetbootin syslinux.cfg file to include svideo=SVIDEO-1:d right after quiet splash in order to boot into the live USB on this particular laptop. You, of course, may not have to do this.
Now plug your newly made persistent drive into any computer and check if it really does store data and settings across reboots (Every single one of mine does).
At first boot, it is very important to have either an ethernet cable plugged in or a wireless dongle that's known to work in order to get something that you want to have installed on your live USB.
I initially set mate to the traditional user interface using mate-tweak to get a desktop that I prefer.
Next I installed a broadcom wireless driver by entering the following into the mate terminal -
sudo apt install firmware-b43-installer.
Next I copied a wallpaper from my hard drive to the live USB Pictures folder. I then added it to my backgrounds and set it to be my desktop background.
I used the terminal to install synaptic package manager. I then rebooted, pulling the wireless dongle out of its USB port.
Once rebooted, and everything you previously added or configured shows as working, you are free to go on adding things which I definitely did.
One caveat, installing the Synaptic Package Manager may reset Software & Updates> Updates to automatically download and install updates. Since this is a live USB, not an installation stored on a USB drive, you should not allow automatic updates of any kind.
To change the time displayed in the clock to a local time, use the following command:
sudo dpkg-reconfigure tzdata
Also, to log out and then log back into the live USB, use name=ubuntu-mate and pwd=nothing as in no password.
Note: If you encounter any problems, please post in Support & Help Requests, not here. In your request for help, please enclose a link to this article.
Good luck all.