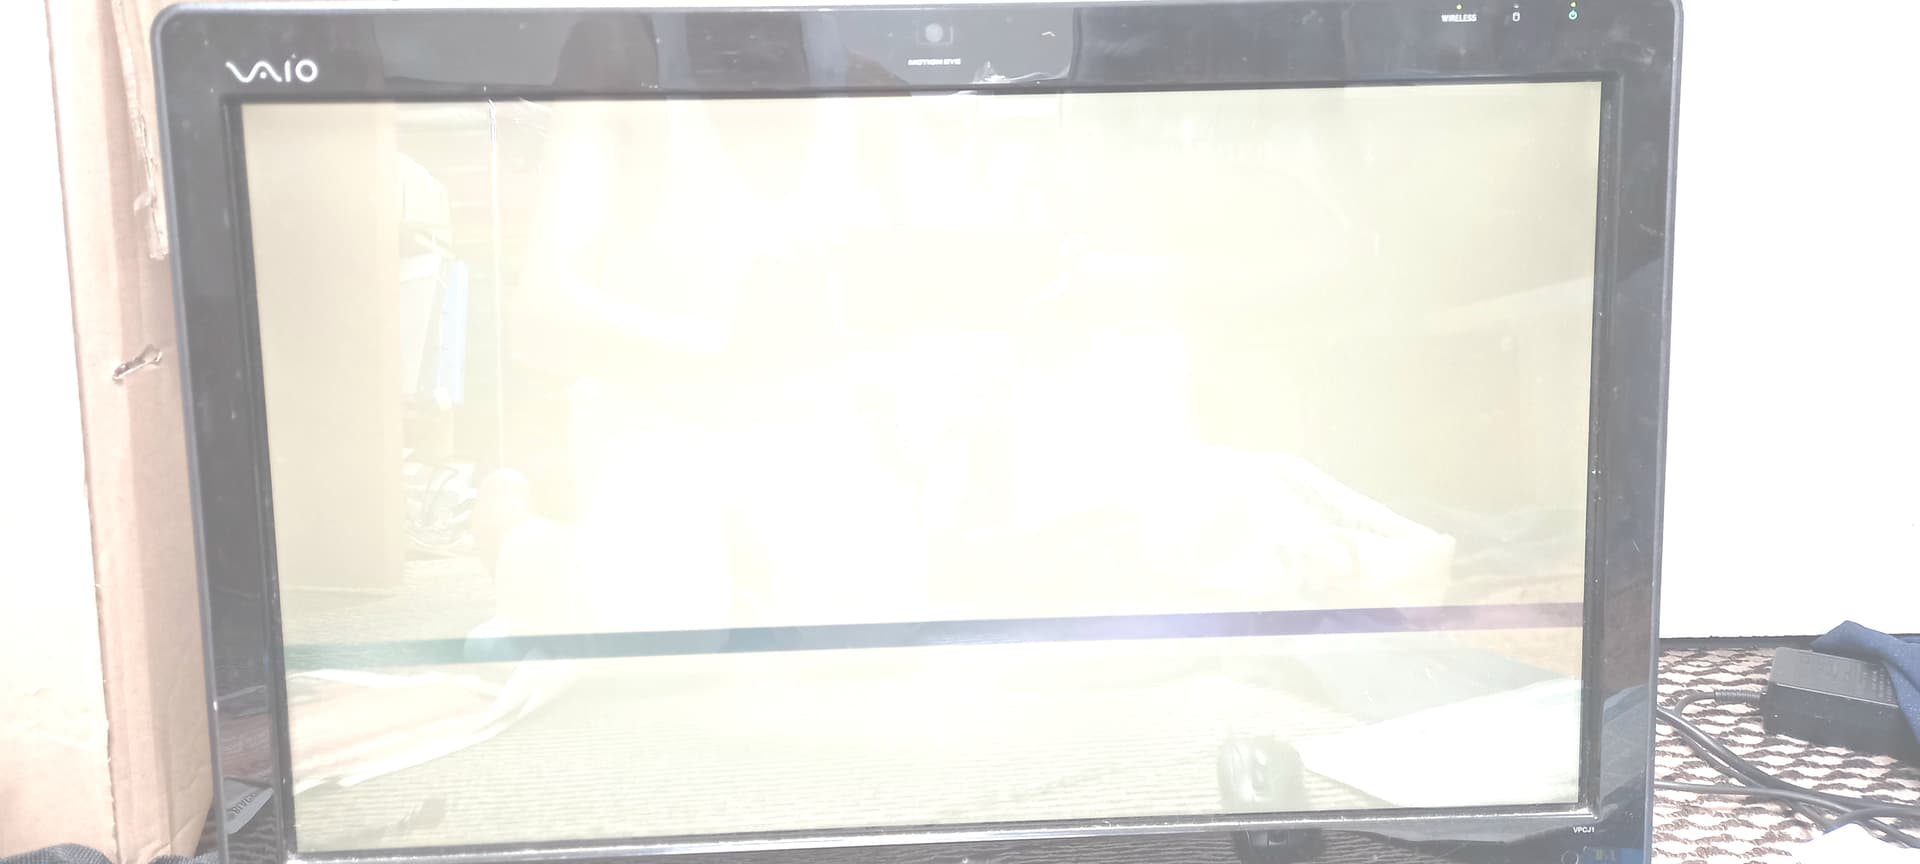
after installing Ubuntu through the safe graphics mode i can only see this
1 Like
Welcome @user919 to the community!
1 Like
Hi, @user919 ![]()
You wrote:
To better help you, could you please tell us what version of Ubuntu MATE are you using? You've referred to "safe graphics" mode, but I believe that option is not available in Ubuntu MATE's boot loader (GNU GRUB = Grand Unified Bootloader) since, at least, the Ubuntu MATE 22.04 LTS ("Jammy Jellyfish") version, at least after installing it (it's true that you do get a "Ubuntu MATE (safe graphics)" option when booting from the ISO file).
Also, from the photo that you included in your post (and that is useful to see what is happening), I can tell that you're using a "Sony VAIO" laptop. Could you please tell us what specific model or series is that "Sony VAIO"?
3 Likes
the computer is all-in-one and it is a Sony Vaio VPCJ11M1E. When i said i booted through safe graphics, i meant during installing i used the safe graphics option. Also i am using the latest version 24.04-noble
Here is a link to its specifications
Hi, again @user919 ![]()
You wrote:
Thanks for the information ![]() So, contrary to what I thought, apparently that Sony VAIO is not a laptop computer, but it is an All-In-One (AIO) PC instead. Based on that specifications ("specs") page and also by looking at another unofficial specs page - https://icecat.biz/en-sg/p/sony/vpcj11m1e-b/vaio-all-in-one+pcs-workstations-vpcj11m1e-4870326.html - we see that:
So, contrary to what I thought, apparently that Sony VAIO is not a laptop computer, but it is an All-In-One (AIO) PC instead. Based on that specifications ("specs") page and also by looking at another unofficial specs page - https://icecat.biz/en-sg/p/sony/vpcj11m1e-b/vaio-all-in-one+pcs-workstations-vpcj11m1e-4870326.html - we see that:
- it's a rather old computer (from 2010, so it's now about 14 years old)
- with a very old (3rd Generation) Intel i3 CPU / Processor (i3-350M)
- usually it comes with 4 GB RAM (that may be enough)
- with an "NVIDIA® GeForce® 310M" graphics card and an "Intel HD Graphics" onboard graphics card
I don't know if / how (well) Ubuntu MATE 24.04 LTS ("Noble Numbat") will run on that old machine, but we can try (I do have Ubuntu MATE 24.04 running in an HP Pavilion dv6 laptop computer that is also from the year 2010 and it also has an Intel i3 CPU, although it has 6 GB of RAM).
There are some (bug) reports of the Ubuntu (Plymouth-based) logo splash screen showing a blank screen (meaning, a black screen), in some computers, when using Ubuntu 24.04 and its flavors, instead of showing the Ubuntu logo (or the corresponding Ubuntu flavor logo, such as the Ubuntu MATE logo). We can try to see if disabling the splash screen also helps with your case of the boot showing a white screen.
So, my suggestion is to try to disable the "splash" screen in GNU GRUB (Grand Unified Bootloader). To do that:
1. - While in that strange white screen, try pressing the key combination CTRL + ALT + F2 to switch to the second text console ("tty2"). Does that work? Do you get a white login prompt in a black background screen?
2. - If the previous step works and the text login prompt appears, then login by doing the following:
2.1. - Write your username, then press ENTER
2.2. - Write your password - no characters will appear when you enter your password, not even asterisks, but that is normal - then press ENTER
3. - You now should be at a shell prompt. Start by changing / switching to the /etc/default directory:
cd /etc/default
4. - Optional, but recommended: make a backup copy of the /etc/default/grub file:
sudo cp -pv grub grub.ORIG
5. - Do you have any experience with the "vi" or "vim" text editor? If you do, then write the following command to start editing the /etc/default/grub file:
sudo vi /etc/default/grub
IF you don't have experience with "vi" or "vim", but you have experience with the "nano" text editor, you could edit the file with the following command instead:
sudo nano /etc/default/grub
6. - In that /etc/default/grub file, change the following lines (in your case, these lines may appear in a different order from what I show here and you will probably find other lines in between, which you don't need to change):
GRUB_TIMEOUT_STYLE=hidden
GRUB_TIMEOUT=0
GRUB_CMDLINE_LINUX_DEFAULT="quiet splash"
#GRUB_DISABLE_OS_PROBER=false
... change those lines so they become the following ones instead:
GRUB_TIMEOUT_STYLE=menu
GRUB_TIMEOUT=10
GRUB_CMDLINE_LINUX_DEFAULT=""
GRUB_DISABLE_OS_PROBER=false
7. - Save and close the /etc/default/grub file
8. - Now you should be back at the shell command prompt. Enter the following command to update your GNU Grub configuration:
sudo update-grub
9. - After the execution of that command finishes, enter the following command to reboot the computer
sudo reboot
See if the machine boots normally after those changes.
I hope this helps ![]() Please reply later, in this same discussion topic, to tell us if this solved the issue for you or not.
Please reply later, in this same discussion topic, to tell us if this solved the issue for you or not.
3 Likes
when i pressed the shortcut keys i could just about make out the terminal screen however it was still covered in a white screen like i showed in the picture. As i could just about see, i followed your instructions and rebooted. I saw the GRUB menu and booted into Ubuntu but i saw the same white screen.
1 Like
Hi again, @user919 ![]()
OK. Thanks for the feedback. This is getting difficult ![]() Let's try something else. Remember when you talked about the "safe graphics" option in GRUB? What that "safe graphics" option does is add a nomodeset option to the boot options. So, let's do just that:
Let's try something else. Remember when you talked about the "safe graphics" option in GRUB? What that "safe graphics" option does is add a nomodeset option to the boot options. So, let's do just that:
1. - Back in that strange white screen, press again the key combination CTRL + ALT + F2 to switch to the second text console ("tty2").
2. - Start editing again the /etc/default/grub file:
sudo vi /etc/default/grub
3. - In that /etc/default/grub file, change the following line:
GRUB_CMDLINE_LINUX_DEFAULT=""
... so it becomes the following line instead:
GRUB_CMDLINE_LINUX_DEFAULT="nomodeset"
4. - Save and close the /etc/default/grub file
5. - Now you should be back at the shell command prompt. Enter the following command to update your GNU Grub configuration:
sudo update-grub
6. - After the execution of that command finishes, enter the following command to reboot the computer
sudo reboot
See if the machine boots normally after those changes.
I hope this helps a bit more ![]() Please reply later, in this same discussion topic, to tell us if by doing this change you're able to boot normally, without that "white screen" appearing.
Please reply later, in this same discussion topic, to tell us if by doing this change you're able to boot normally, without that "white screen" appearing.
By the way: my understanding is that using "nomodeset" is usually not ideal and the next steps should be to troubleshoot further and investigate what video drivers / graphics card drivers and/or other graphics mode options are more suited for your setup.
4 Likes
Quick-Fix: GRUB_CMDLINE_LINUX_DEFAULT="amd_iommu=off"
sudo update-grub
sudo reboot
1 Like
I tried this but unfortunately i got the same white screen
i followed this and was able too boot into the MATE desktop however my resolution was at 640*480.
I tried to download the Nvidia drivers through the 'additional drivers' tab in 'software and updates' but their were no drivers available. I tried installing the drivers of the nvidia website however it said i was running an X server. So i booted into recovery mode and tried installing through the root shell prompt but was unable to do so as it returned a different error.
2 Likes
Please test if ubuntu 18.04 runs and then 20.04. Maybe 22.04. 24.04 is possibly to new..
1 Like
Hi again, @user919 ![]()
You wrote:
Well, at least with "nomodeset" you now get a MATE desktop, although with a resolution of 640x480. What you can do, in these conditions, is to install the available updates because, since Ubuntu MATE 24.04 LTS ("Noble Numbat") was released, there were some updates to the Linux kernel, and to the "nouveau" graphics driver and to the Linux firmware package ("linux-firmware") and, who knows, one (or more) of them may eventually solve your issue. So, in that MATE desktop with the resolution of 640x480, please do the following:
1. - Open a MATE Terminal window and run the following command:
sudo apt update && sudo apt upgrade -y
After the execution of that previous command finishes, the idea is to now remove again the "nomodeset" option, update GRUB and reboot and see if it shows the normal desktop after booting. So, please do the following, in that same "Terminal" window:
2. - Start editing again the /etc/default/grub file:
sudo vi /etc/default/grub
3. - In that /etc/default/grub file, change the following line:
GRUB_CMDLINE_LINUX_DEFAULT="nomodeset"
... so it becomes the following line instead:
GRUB_CMDLINE_LINUX_DEFAULT=""
4. - Save and close the /etc/default/grub file
5. - Now you should be back at the shell command prompt. Enter the following command to update your GNU Grub configuration:
sudo update-grub
6. - After the execution of that command finishes, enter the following command to reboot the computer:
sudo reboot
See if the machine boots normally after those changes.
I hope this helps a bit more ![]() Please reply later, in this same discussion topic, to tell us if by doing this change you're able to boot normally, without that "white screen" appearing.
Please reply later, in this same discussion topic, to tell us if by doing this change you're able to boot normally, without that "white screen" appearing.
2 Likes
Unfortunately it still appears
I also tried this by installing the 18.04 version. However, when i booted of my USB stick and pressed install, i got a black screen and heard the noise you hear when you boot up Ubuntu MATE.
Hi again, @user919 ![]()
OK. Let's try one more (last?) thing: use "nouveau.noaccel=1" (to disable GPU hardware acceleration) instead of "nomodeset". You've probably already guessed what I'm asking you to please do now:
1. - Start editing again the /etc/default/grub file:
sudo vi /etc/default/grub
2. - In that /etc/default/grub file, change the following line:
GRUB_CMDLINE_LINUX_DEFAULT=""
... so it becomes the following line instead:
GRUB_CMDLINE_LINUX_DEFAULT="nouveau.noaccel=1"
4. - Save and close the /etc/default/grub file
5. - Now you should be back at the shell command prompt. Enter the following command to update your GNU Grub configuration:
sudo update-grub
6. - After the execution of that command finishes, enter the following command to reboot the computer
sudo reboot
See if the machine boots normally after those changes.
I hope this helps a bit more ![]() Please reply later, in this same discussion topic, to tell us if by doing this change you're able to boot normally, without that "white screen" appearing.
Please reply later, in this same discussion topic, to tell us if by doing this change you're able to boot normally, without that "white screen" appearing.
2 Likes
The white screen still appears.
1 Like
Hi again, @user919 ![]()
Definitely, this is not easy ![]() I guess that we can try then a variation of the above suggestion by @Andreadd (Andrea De Dominicis):
I guess that we can try then a variation of the above suggestion by @Andreadd (Andrea De Dominicis):
... but, instead of "amd_iommu=off", try to use simply "iommu=off", so the "GRUB_CMDLINE_LINUX_DEFAULT" line should read as follows:
GRUB_CMDLINE_LINUX_DEFAULT="iommu=off"
I must say I don't understand the potential impacts of doing that, but there's a good explanation of IOMMU (Input Output Memory Management Unit) and the SIOTLB (Software Input Output Translation Lookaside Buffer) in the following web page of the Gentoo Wiki:
https://wiki.gentoo.org/wiki/IOMMU_SWIOTLB
I hope this helps ![]() Please reply later, in this same discussion topic, to tell us if by doing this change you're able to boot normally, without that "white screen" appearing. I'm probably not able to help you further regarding this issue, but maybe someone else, here in the "Ubuntu MATE Community", can come up with more ideas.
Please reply later, in this same discussion topic, to tell us if by doing this change you're able to boot normally, without that "white screen" appearing. I'm probably not able to help you further regarding this issue, but maybe someone else, here in the "Ubuntu MATE Community", can come up with more ideas.
2 Likes
It still doesn't work. My computer is probably too old. Ill try another distro. I appreciate everyone's help especially @ricmarques who has clearly put a lot of effort into each reply.
2 Likes
after installing the kernel run sudo update-grub
try to update the kernel because this one installed in Ubuntu as standard is faulty, I updated and all the problems disappeared.
Hi @user919,
@ricmarques answer was absolutely spot on. ![]()
Keep this 'nomodeset' option activated @user919 , you'll need it!
Now, about the low resolution:
This is a typical problem for SONY VAIOs with a GeForce 210/310m.
therefore don't think that any driver- or kernel-update will help.
The problem is that a lot of those SONY VAIOs have a faulty EDID ( = the info that the display gives to the computer) so you end up with a 640x480 resolution.
The reason that the MS-Windows didn't have a problem with it is that SONY delivered updated EDID files (INF) packed as "windows monitordrivers" (seperate from the nVidia GPU drivers) and used this to force the right resolutions.
In Linux you can also bypass the faulty EDID and force the right resolutions.
You have to do that manually because SONY won't do that for you.
Read this article from 2011:
If the solution above doesn't work, you can use 'xrandr' instead to add a new resolution and force it. But in this case you must know which resolution and refreshrate is supported by the display.
See this:
According to the specs, your computer will be able to do 1920x1080 @ 60Hz.
Using the gtf command
gtf 1920 1080 60
generates the modeline
# 1920x1080 @ 60.00 Hz (GTF) hsync: 67.08 kHz; pclk: 172.80 MHz
 Modeline "1920x1080_60.00"  172.80  1920 2040 2248 2576  1080 1081 1084 1118  -HSync +Vsync
alternatively, you can use the generated modeline in a configfile instead (post #3):
https://bbs.archlinux.org/viewtopic.php?id=260982
alternatively, if you have a updated EDID file, you can also tell the kernel to use an EDID file (and probably remove the nomodeset option), the EDID override is in Paragraph 4 "Forcing modes and EDID" and 4.1 :
https://wiki.archlinux.org/title/Kernel_mode_setting
If you don't have an EDID file, you can generate one yourself:
https://kodi.wiki/view/Archive:Creating_and_using_edid.bin_via_xorg.conf
Don't use Nvidia drivers. Nvidia does not support this GPU: Not on Windows not on Linux.
Besides that: even if supported, it wouldn't work anyway because of the faulty EDID.
The only driver that supports this GPU is Nouveau (which is already build into the kernel.) but it needs a valid EDID or a modeline override
No, I have Ubuntu-MATE 24.04 LTS running on an ASUS laptop from 2005 and on a crappy, half broken, Toshiba laptop from 2011 and 22.04 on several other oldtimers.
Don't give up, you'll manage ![]()
3 Likes