Background
Encrypting your hard drive is the only decent counter measure against someone gaining physical access to your computer. Encrypting your hard drive does not protect you from malware ex-filtrating your data while your computer is being used. Full disk encryption is different from home folder encryption in that an attacker that gains access to your computer cannot plant malware into the operating system. Home folder encryption does not protect you from that kind of attack since only your personal data is encrypted, which means the attacker can boot your computer, plant malware in the OS, shut it down and wait for you to login - activating the malware that will then ex-filtrate your files over the network.This guide is only for users that don't have an English/US keyboard layout (Querty) and are using the default keyboard layout for their country (Sorry, MAC users - this guide won't help you.)
Other more blessed users should not have any problems just following the classic installation path.
Using Ubuntu with Full Disk Encryption is a Pain for people with non-US keyboard layouts because of a very simple design decision error (please mark yourself as affected on the bug report if you've been hit by this in the past) that is known to affect every version since the FDE feature was introduced.
I will describe here the only one step that is critical to setting it up successfully.
Step 1:
Power On With your installation disk first in the boot sequence Sadly how to do that is hardware specific so [see here for some instructions on how to do that](https://help.ubuntu.com/community/BootFromCD#BIOS_is_not_set_to_boot_from_CD_or_DVD_drive).Step 2: This one is the critical step. It's not hard to do but if you don't you'll end up with an unbootable system.
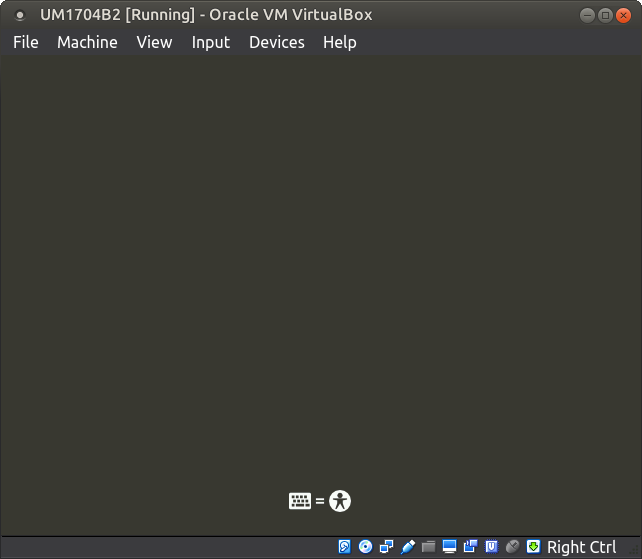
When you see this screen with the little dude at the bottom:
Press a key, so you get to this screen:

Then pick your language and hit enter.
You should then see a boot screen like this in your local language:

Step 3: and I'm tired of giving a number to steps so I won't do it again. The rest is easy anyway.
Pick the Install option using the arrow keys. Then keep going with your default language choice during the following steps:
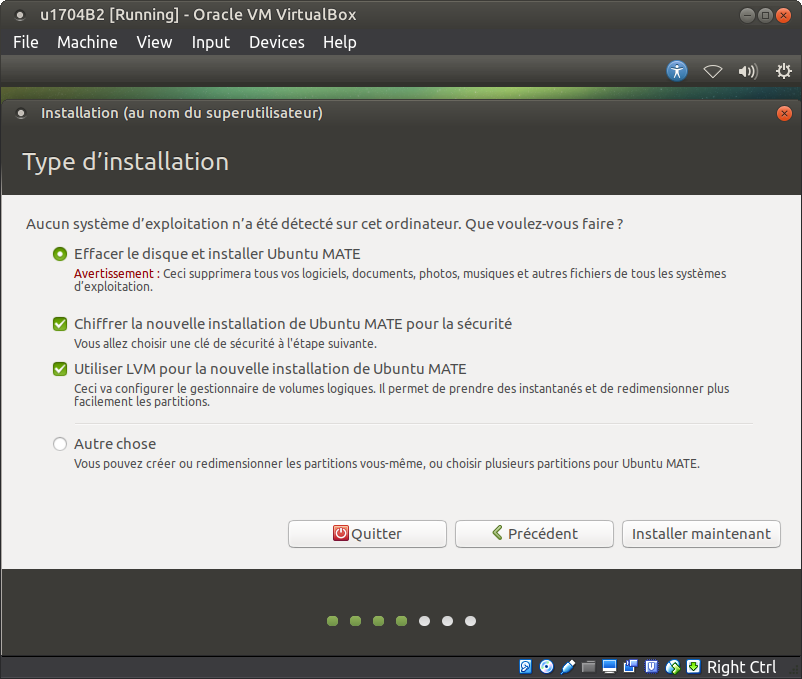
On the "Installation Type" screen check "Encrypt the new installation for security" or whatever the equivalent in your language is.
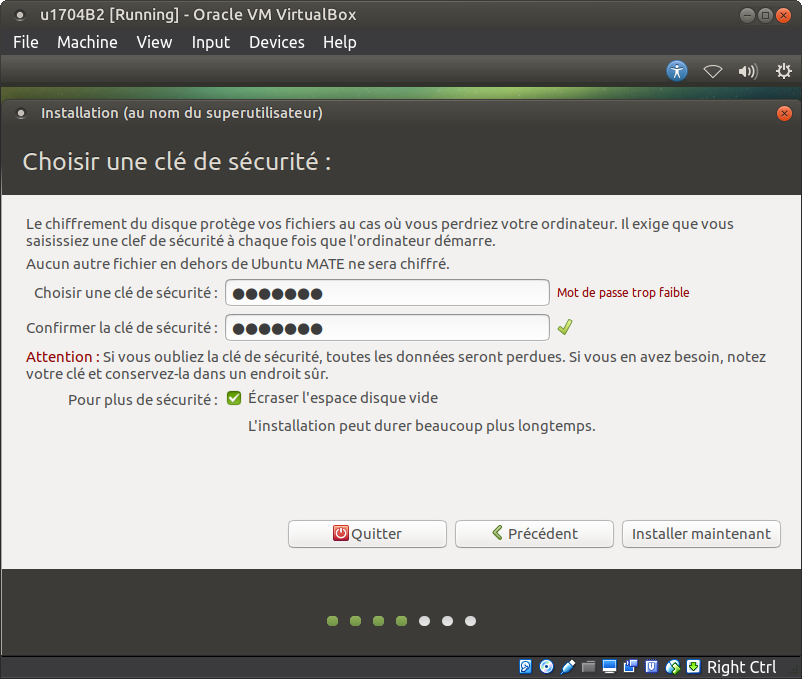
Next pick your security key for unlocking the encrypted drive. (this does not have to be - and should not be the same password as your user password)
If you're afflicted with an "original" keyboard variant you should only use keys that you know always map to the same characters.
On the next step you can choose your keyboard variant if needed, but keep in mind that this will not help if the drive encryption key contains characters that are misplaced across keyboard variants.
Now then, the installation is gonna go on for quite a while and after it completes and you reboot you should see this:
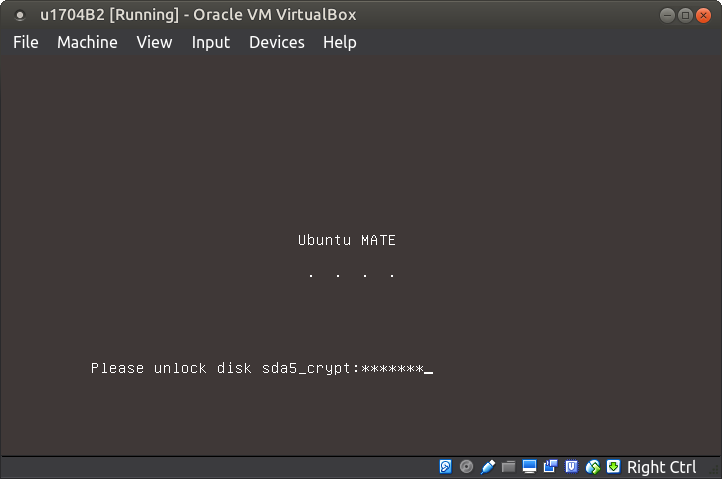
Assuming you can clear this screen, you're all setup.
If something failed, well hopefully someone from Canonical will wake up one of these days. :/

