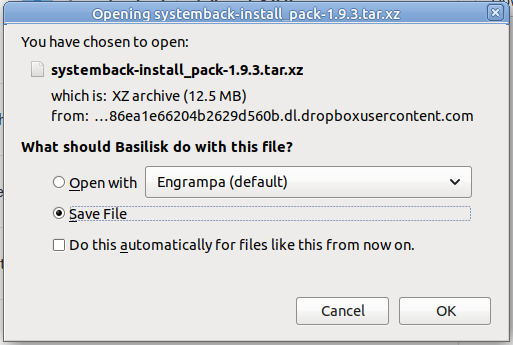
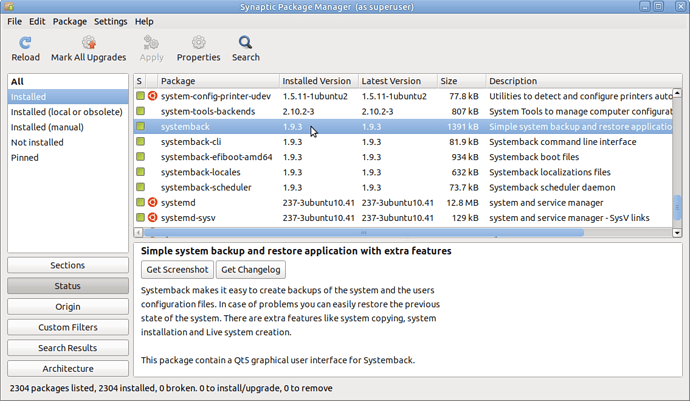
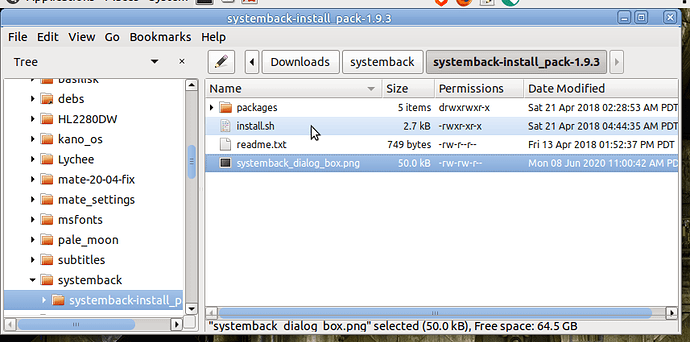
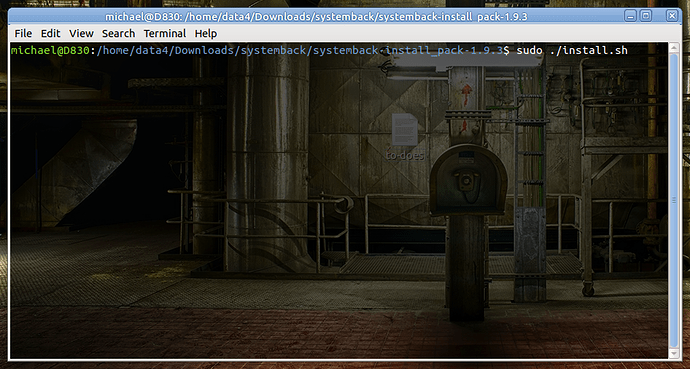
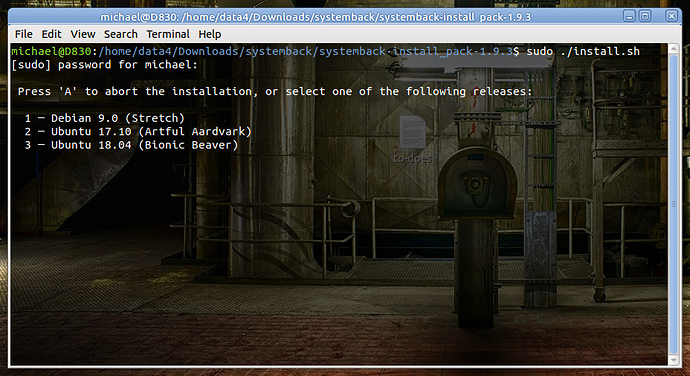
To get Systemback, see - https://launchpad.net/~nemh/+archive/ubuntu/systemback
The developers ppa says (as of May 2nd) * DEVELOPMENT SUSPENDED * which is not too surprising.
sudo add-apt-repository ppa:nemh/systemback
sudo apt-get update
sudo apt-get install systemback
Having problems? See - https://answers.launchpad.net/systemback
Get newer versions of systemback? See - https://launchpad.net/~sonicwalker/+archive/ubuntu/sonicos+dev
Creating a Live System
After installing Systemback, you should find its launcher in Applications-> System Tools-> Systemback. Launch Systemback and create the live system.
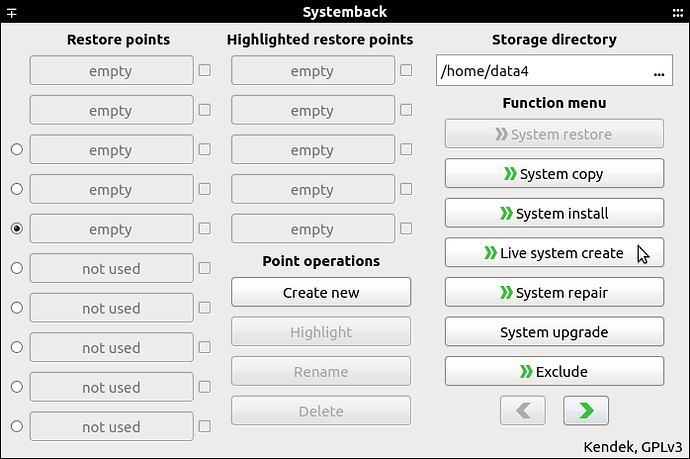
You must supply your password to get to this dialog box. Click on "Live system create".
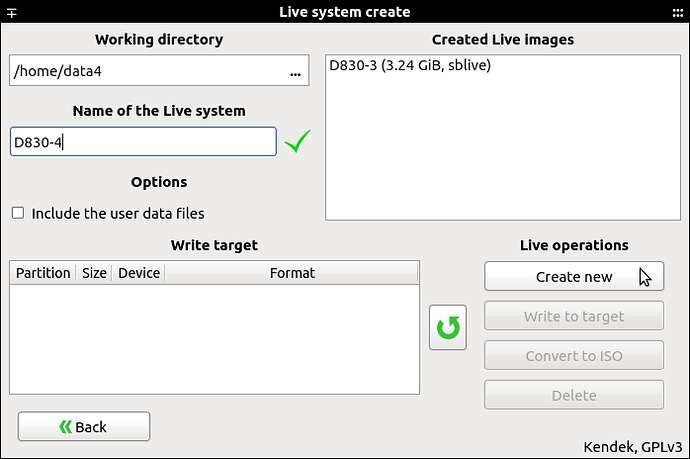
Supply the name of your (new) live system, replacing "auto". If the live system is to be used as your personal backup, rather than a means of creating duplicate installs on other computers, check the option "include the user data files". You can also set the Working directory where you store live images and isos. This directory must be a writable linux filesystem - no fat, exfat, fat32 nor ntfs directories or partitions can be used for storage. You also have the option to delete previous live systems here if desired. To continue, click on "Create new".
Systemback creates a live system backup. This takes a bit of time and Systemback displays a progress bar.
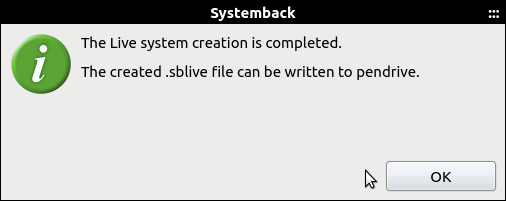
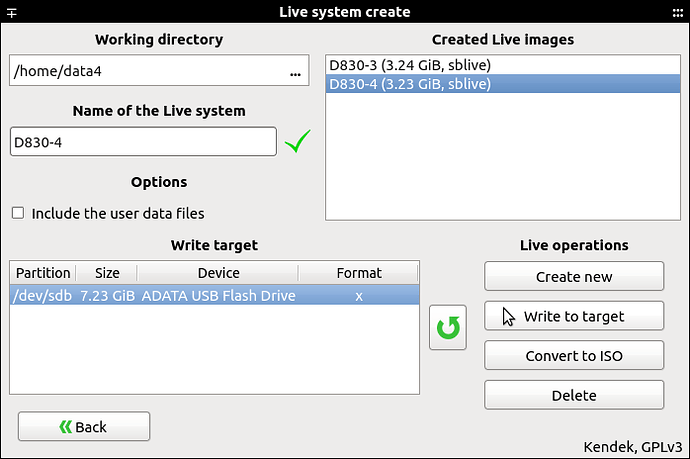
After Systemback has finished creating the new live system, it offers you the opportunity to write the system directly to a pen (USB flash) drive.
Insert a flash drive if you haven't already done so. Click on the circleback green arrow to refresh this dialog box. The "Write target" box should display a pen drive. Click on a created live image and click on a target drive. The "Write to target" Live operation becomes ungrayed and available. Click on "Write to target".
You will see a confirmation dialog box. Click on Start. System back writes the new image to your flash drive. A progress bar is displayed.
You may also create an .iso from the created live image. Click on your new live image. Then click on Convert to ISO.
Installing the Live System
I searched for the most recent remarks concerning systemback in the Ubuntu forums. The thread below mentioned installing ubiquity as an alternate (and familiar) way of installing the systemback created iso and/or the live system. Ubiquity worked as a familiar installer but ignored my entrance of a different user name, a new password and a new hostname instead installing as me, using my password and using the same hostname as the backup.
https://ubuntuforums.org/showthread.php?t=2350609&highlight=systemback
sudo apt-get install ubiquity-frontend-gtk
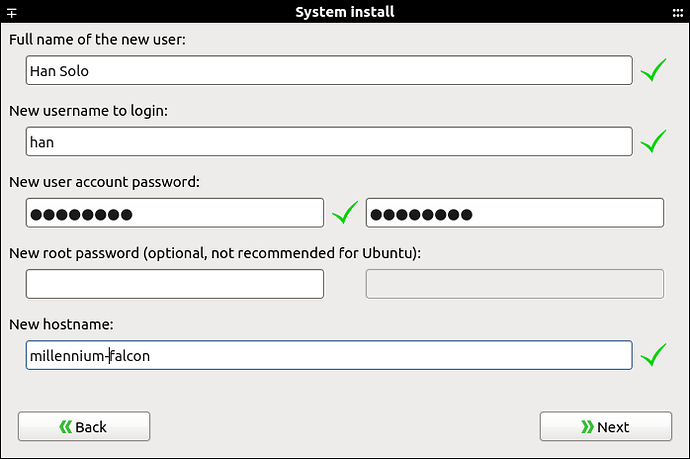
I have used a systemback USB key to reinstall MATE 16.04 several times. Booting the live system lets you see how your custom install runs on different hardware. But to install, select "Boot system installer" at the Systemback custom grub prompt. The installation of the backed up system starts encouragingly. The first screen lets you name a new user, a login name, a user password, and a host name. I used a somewhat flippant example as a test. I then clicked on >>Next.
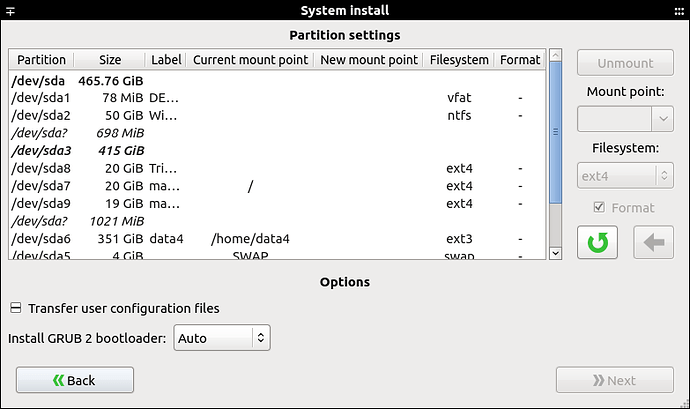
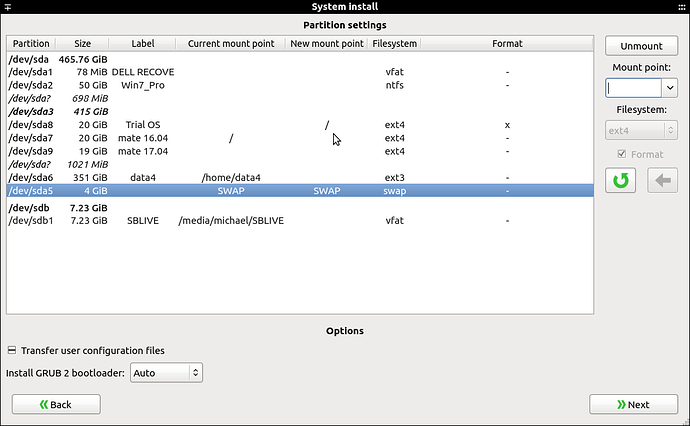
Partition Settings. Some of the options here will really screw things up so be careful. Don't ask me how I know...
(You may want to make this dialog full screen in order to read the partitions available. Or you can resize the dialog box by clicking the mouse on the lower right corner.) I selected a partition, /dev/sda8, selected my mount point as root ( / ), left format to ext4 checkmarked and then clicked on the left pointing green arrow. The partition appeared under the new mount point column. The >>Next button also became ungrayed.
I selected the swap partition, /dev/sda5, selected its mount point as SWAP and clicked on the left pointing green arrow. It also appeared in the new mount point column. I could not get my data partition to mount as I wanted so left that to later cleanup after my install. I left Grub2 bootloader as Auto and checked Transfer user configuration and data files. I then clicked >>Next.
A confirmation dialog box appears. "Install the system using the following restore point: Live Image." I clicked on Start. Systemback displayed an "installing the system" screenlet. In about two minutes, I saw "The system install is completed." I clicked OK. A screenlet appeared announcing that the computer would reboot in 30 seconds. When it did, my custom Grub screen appeared and I booted into my system as it was when I had last backed it up.
The system loaded slowly as it was "new", and my data partition was not mounted so I had to edit fstab. I also had to renew my symlinks to my data partition. Things went fairly well after that. If you have questions, I'll try to answer them.
